Introduction#
After studying the basics of smart contracts, Web3.py, and ethers.js in the previous articles, we have grasped the fundamental knowledge of directly interacting with blockchain networks through programming. Those who are unfamiliar can review:
- Solidity Smart Contract Development - Basics
- Solidity Smart Contract Development - Mastering Web3.py
- Solidity Smart Contract Development - Mastering ethers.js
However, in real complex business scenarios, we often use some further encapsulated frameworks, such as HardHat, Brownie, Truffle, etc. HardHat is the most widely used and has the most powerful plugin extensions. This series will start focusing on the use and best practices of the Hardhat framework from this article, and this article will complete its installation, configuration, and usage through a simple example.
This article is a summary of the tutorial by Patrick Collins titled 'Learn Blockchain, Solidity, and Full Stack Web3 Development with JavaScript', and it is highly recommended to watch the original tutorial video for more details.
You can click here to access the demo code repository.
Introduction to Hardhat#

Hardhat is a JavaScript-based smart contract development environment that can be used to flexibly compile, deploy, test, and debug EVM-based smart contracts. It provides a series of toolchains to integrate code with external tools and offers a rich plugin ecosystem to enhance development efficiency. In addition, it also provides a local Hardhat network node that simulates Ethereum, offering powerful local debugging capabilities.
Its GitHub address is NomicFoundation/hardhat, and you can visit its official documentation for more information.
Using Hardhat#
Initializing a Project#
To build a Hardhat project from scratch, we need to have node.js and yarn environments installed in advance. This part can be followed according to the official instructions based on your system environment.
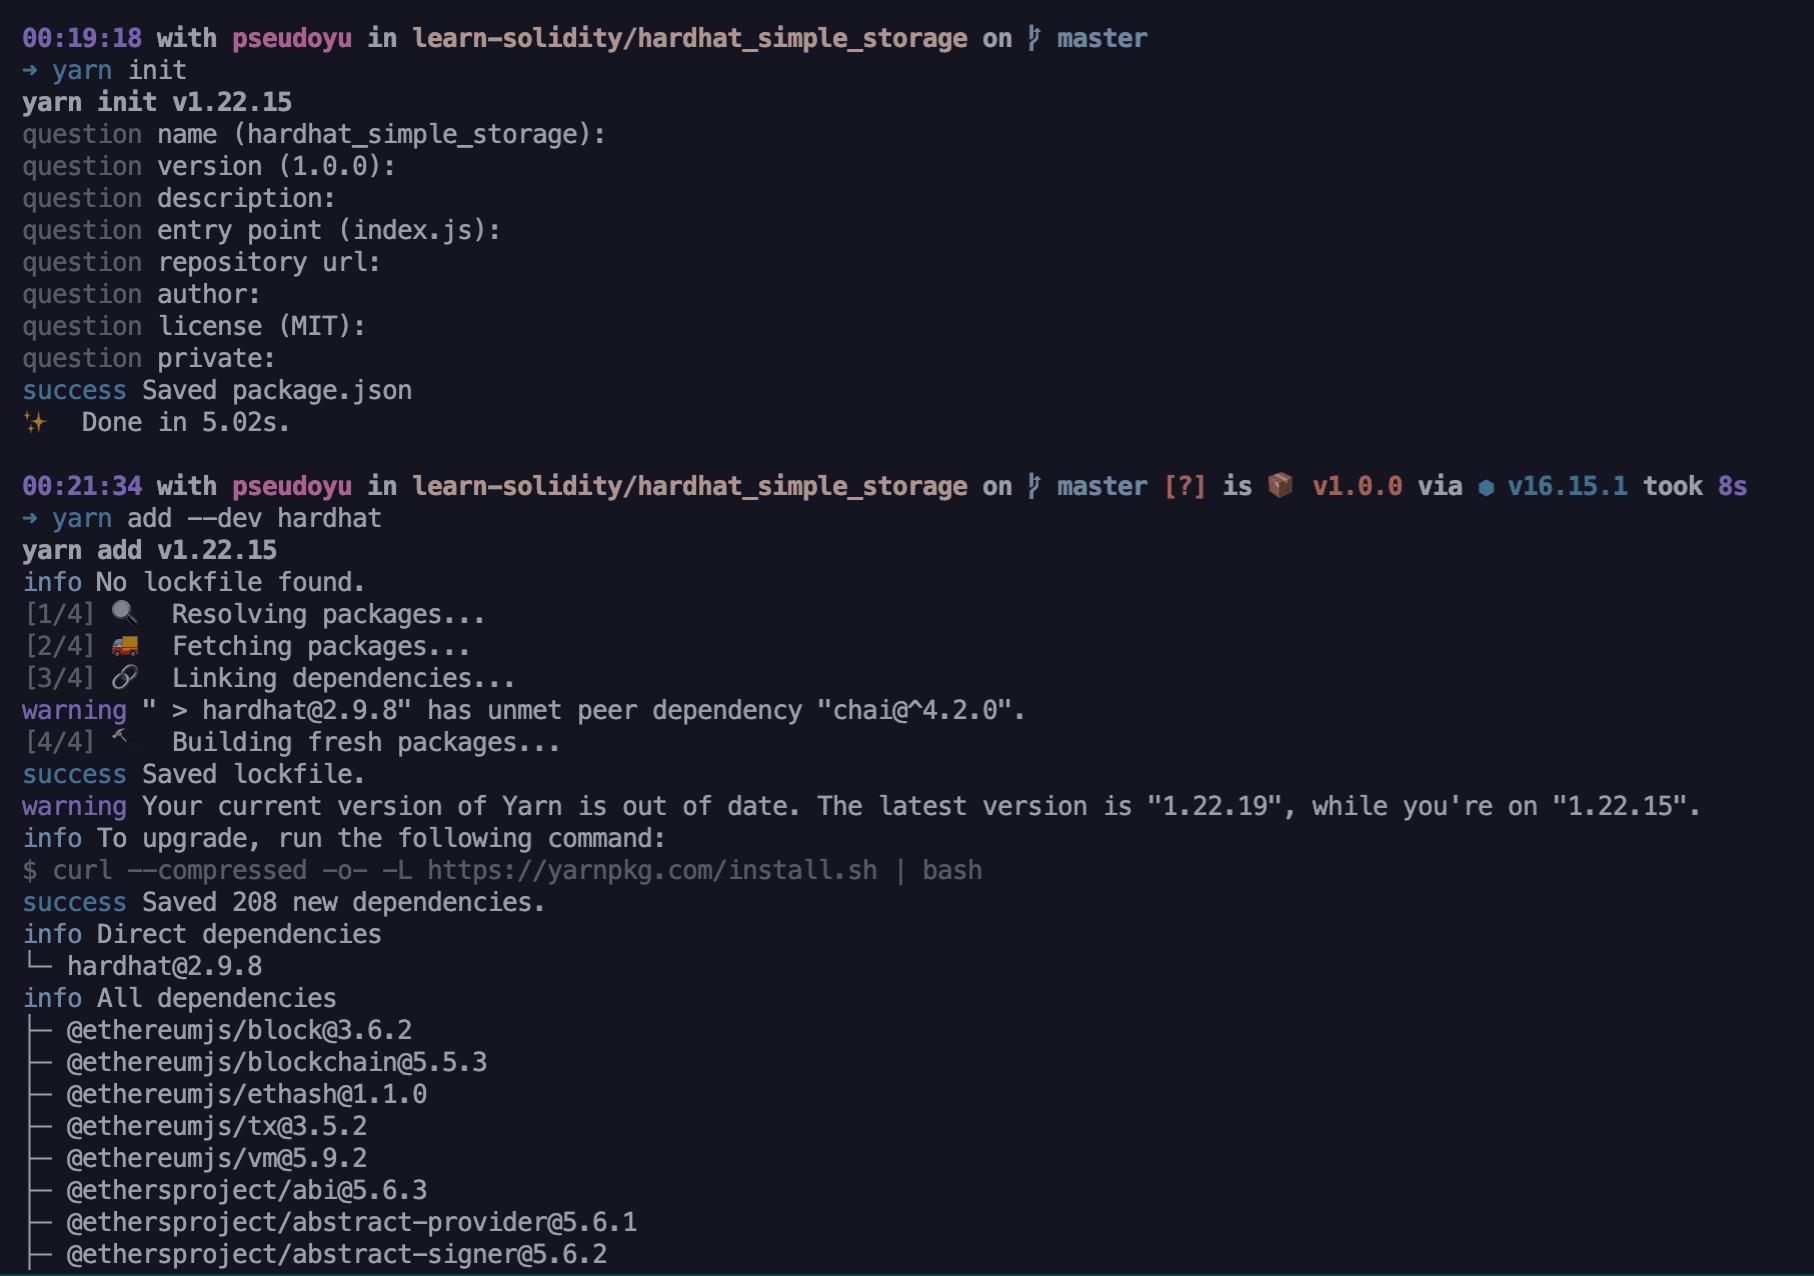
First, we need to initialize the project and install the hardhat dependency.
yarn init
yarn add --dev hardhat
Initializing Hardhat#
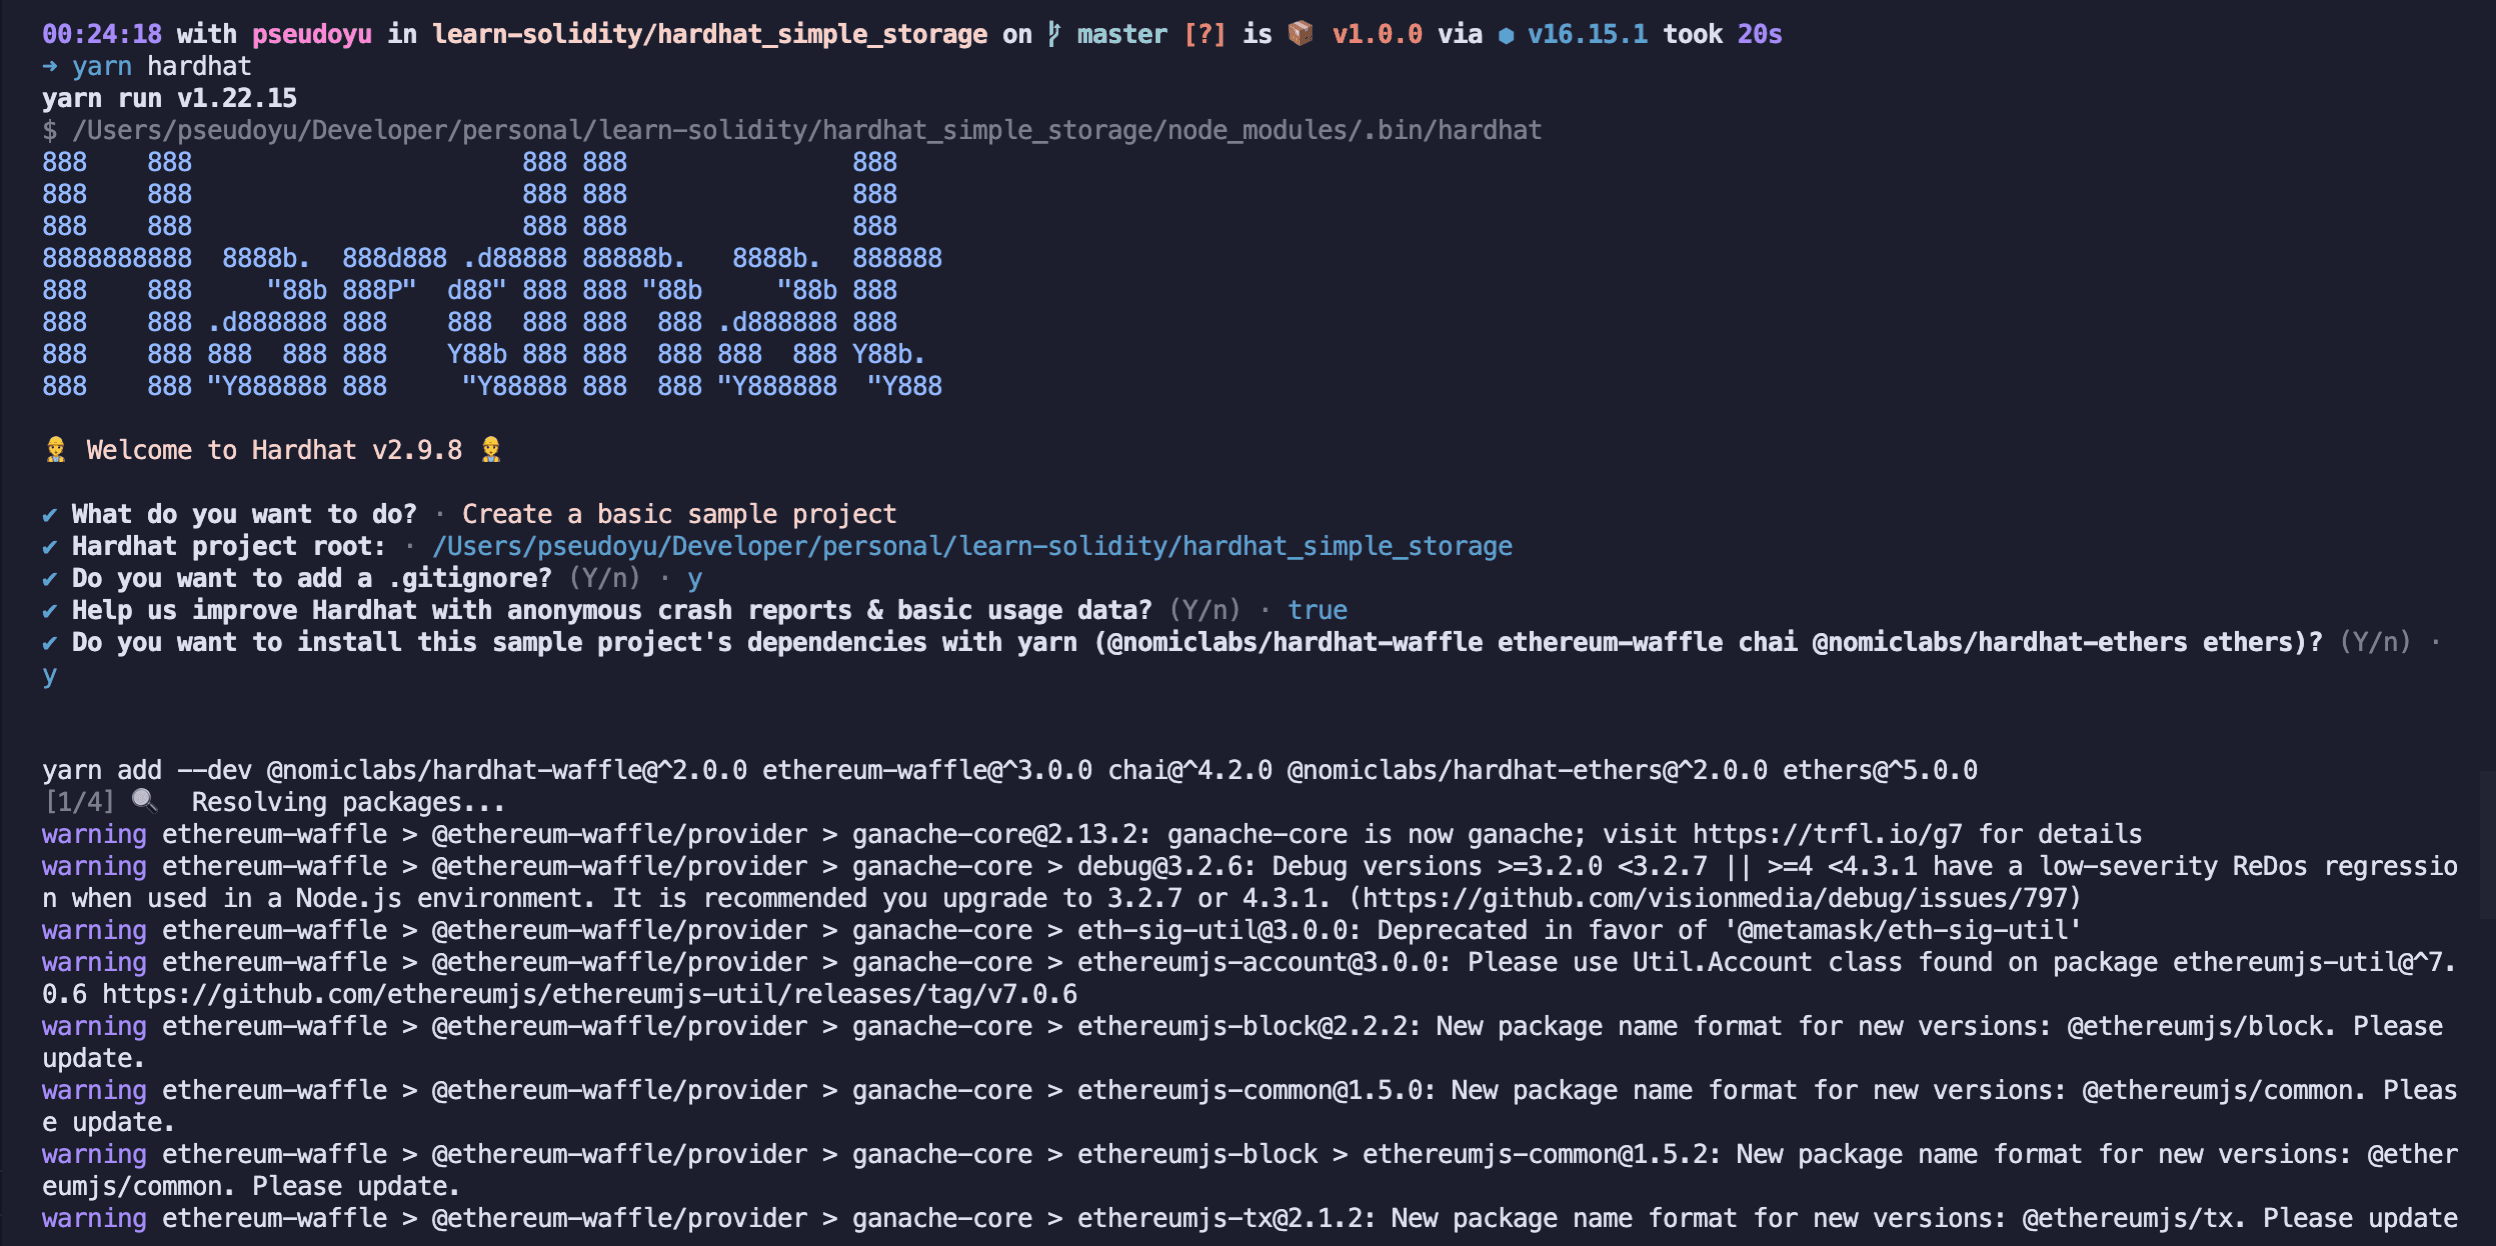
Next, we need to run yarn hardhat to initialize through an interactive command, configuring according to project needs. Our test demo will choose the default values.
Optimizing Code Formatting#
VS Code Configuration#
I develop code locally using VS Code. You can install the Solidity + Hardhat and Prettier plugins for code formatting. You can open VS Code settings and add the following formatting configuration in settings.json:
{
    //...

    "[solidity]": {
        "editor.defaultFormatter": "NomicFoundation.hardhat-solidity"
    },
    "[javascript]": {
        "editor.defaultFormatter": "esbenp.prettier-vscode",
    }
}
Project Configuration#
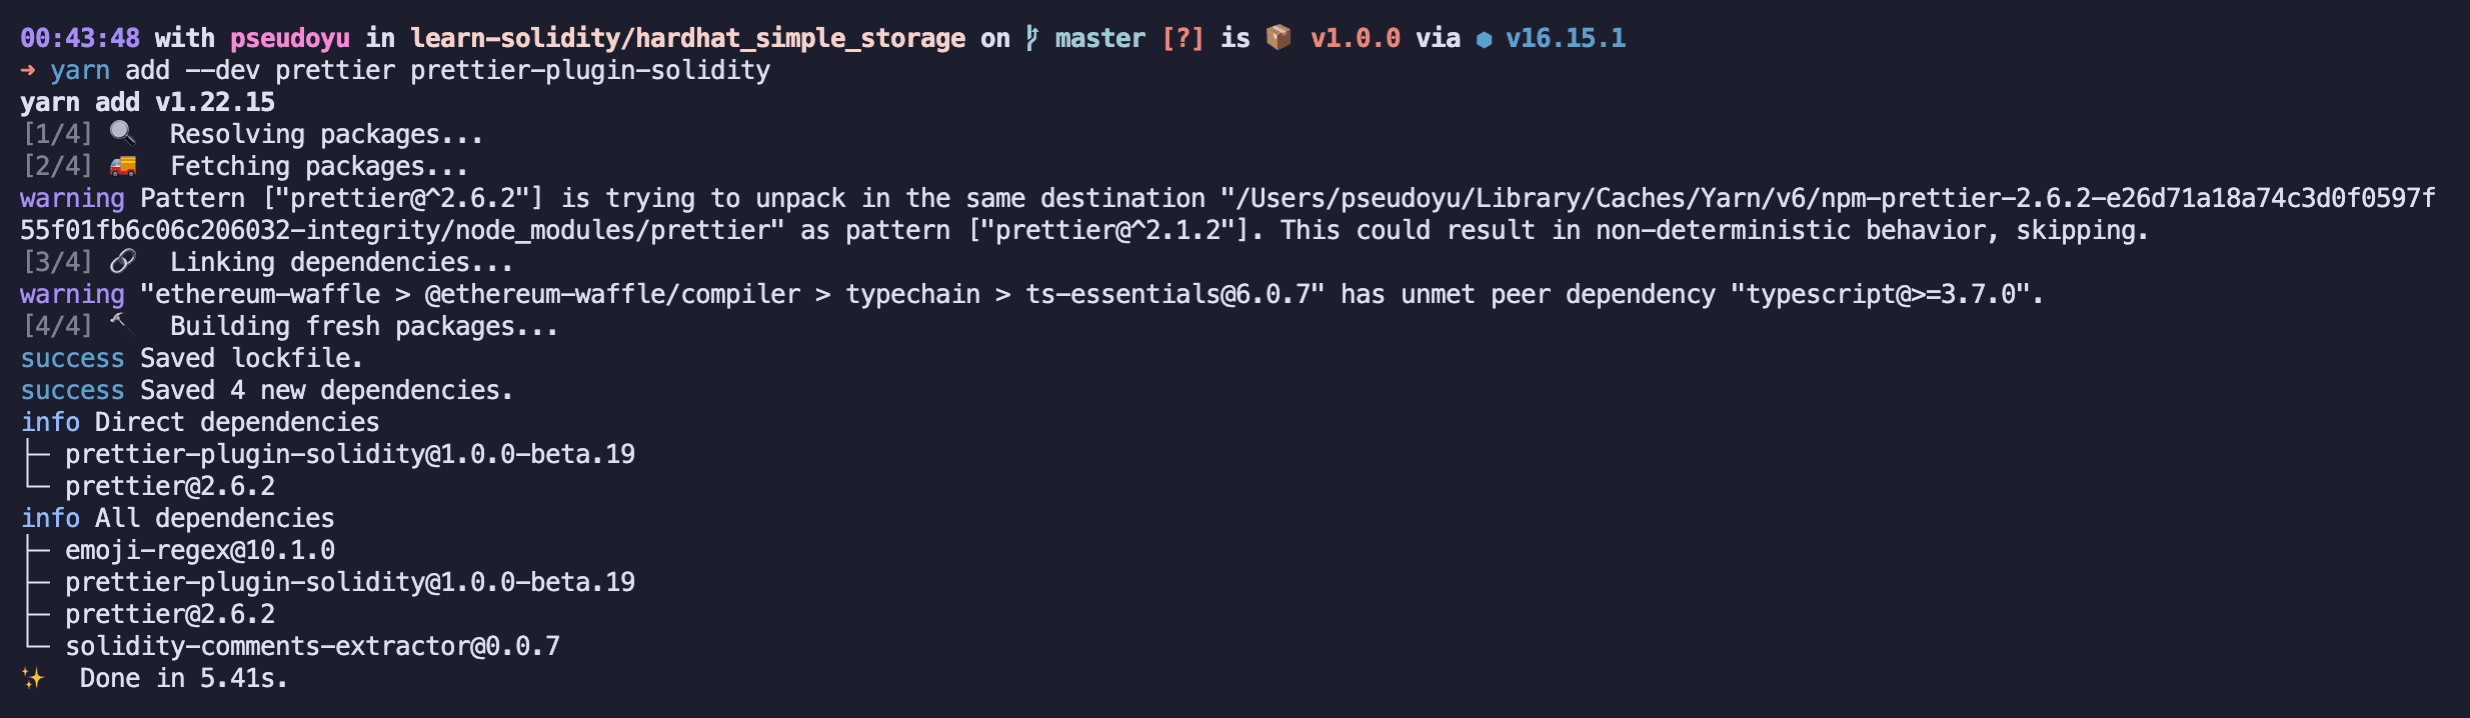
To unify the code formatting style among developers using the project, we can also configure prettier and prettier-plugin-solidity plugin support for the project:
yarn add --dev prettier prettier-plugin-solidity
After adding the dependencies, you can create .prettierrc and .prettierignore configuration files in the project directory for unified formatting:
My .prettierrc configuration is:
{
    "tabWidth": 4,
    "useTabs": false,
    "semi": false,
    "singleQuote": false
}
My .prettierignore configuration is:
node_modules
package.json
img
artifacts
cache
coverage
.env
.*
README.md
coverage.json
Compiling Contracts#
Unlike ethers.js, which requires a custom compile command, HardHat has a preset compile command. You can place contracts in the contracts directory and compile them using the yarn hardhat compile command:

Adding dotenv Support#
Before we start writing deployment scripts, we first configure the dotenv plugin so that we can use dotenv to access environment variables. During development, we will deal with many sensitive information, such as private keys, and we would like to store them in a .env file or set them directly in the terminal, such as our RINKEBY_PRIVATE_TOKEN. This way, we can use process.env.RINKEBY_PRIVATE_TOKEN in the deployment script to get the value without explicitly writing it in the code, reducing the risk of privacy leakage.
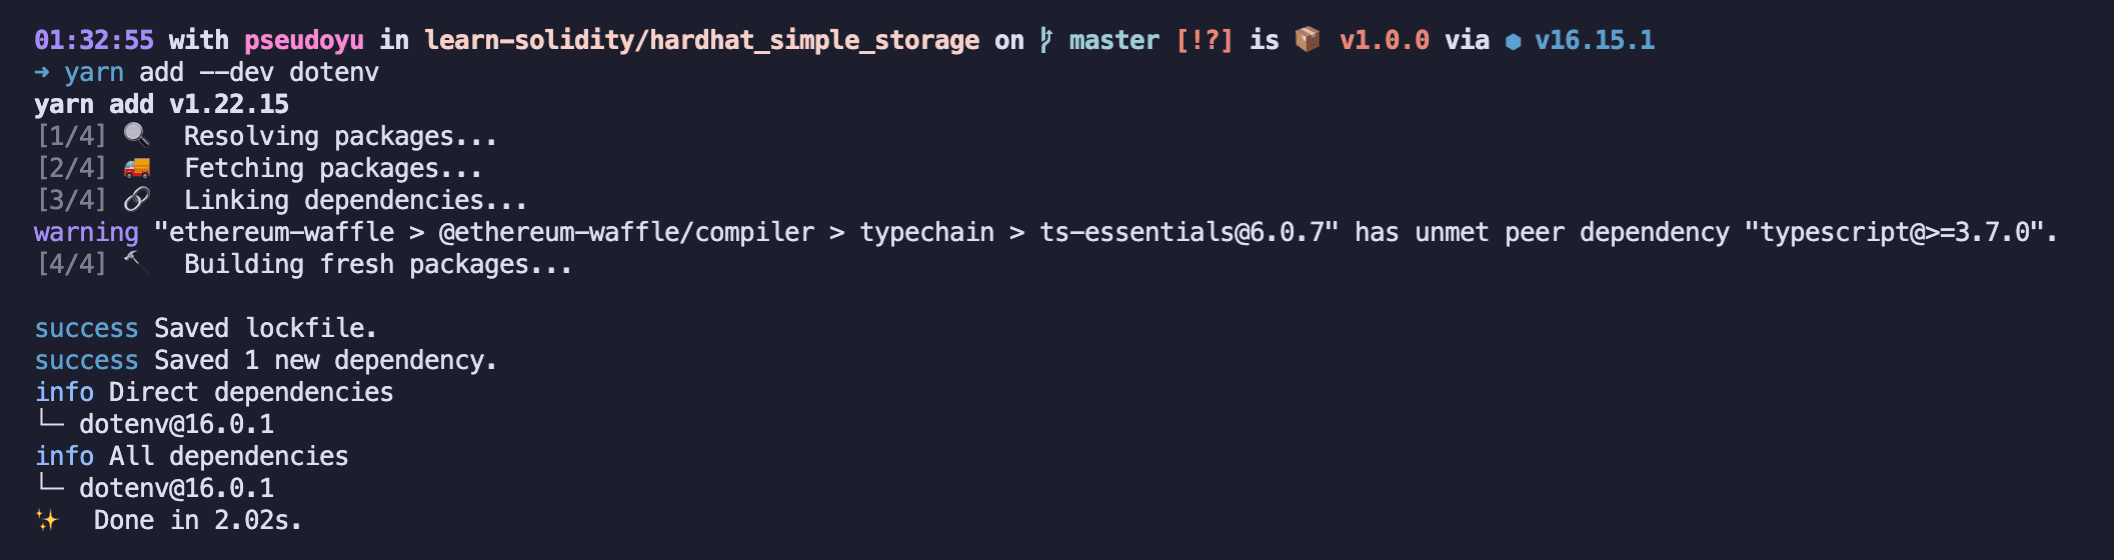
Installing dotenv#
yarn add --dev dotenv
Setting Environment Variables#
In the .env file, we can set environment variables, for example:
RINKEBY_RPC_URL=url
RINKEBY_PRIVATE_KEY=0xkey
ETHERSCAN_API_KEY=key
COINMARKETCAP_API_KEY=key
We can then read the environment variables in hardhat.config.js:
require("dotenv").config()

const RINKEBY_RPC_URL =
    process.env.RINKEBY_RPC_URL || "https://eth-rinkeby/example"
const RINKEBY_PRIVATE_KEY = process.env.RINKEBY_PRIVATE_KEY || "0xkey"
const ETHERSCAN_API_KEY = process.env.ETHERSCAN_API_KEY || "key"
const COINMARKETCAP_API_KEY = process.env.COINMARKETCAP_API_KEY || "key"
Configuring Network Environment#
Often, our contracts need to run on different blockchain networks, such as local testing, development, production environments, etc. Hardhat also provides a convenient way to configure network environments.
Starting the Network#
We can directly run a script to start a Hardhat built-in network, but this network only lives during the script execution. To start a local persistent network, we need to run the yarn hardhat node command:
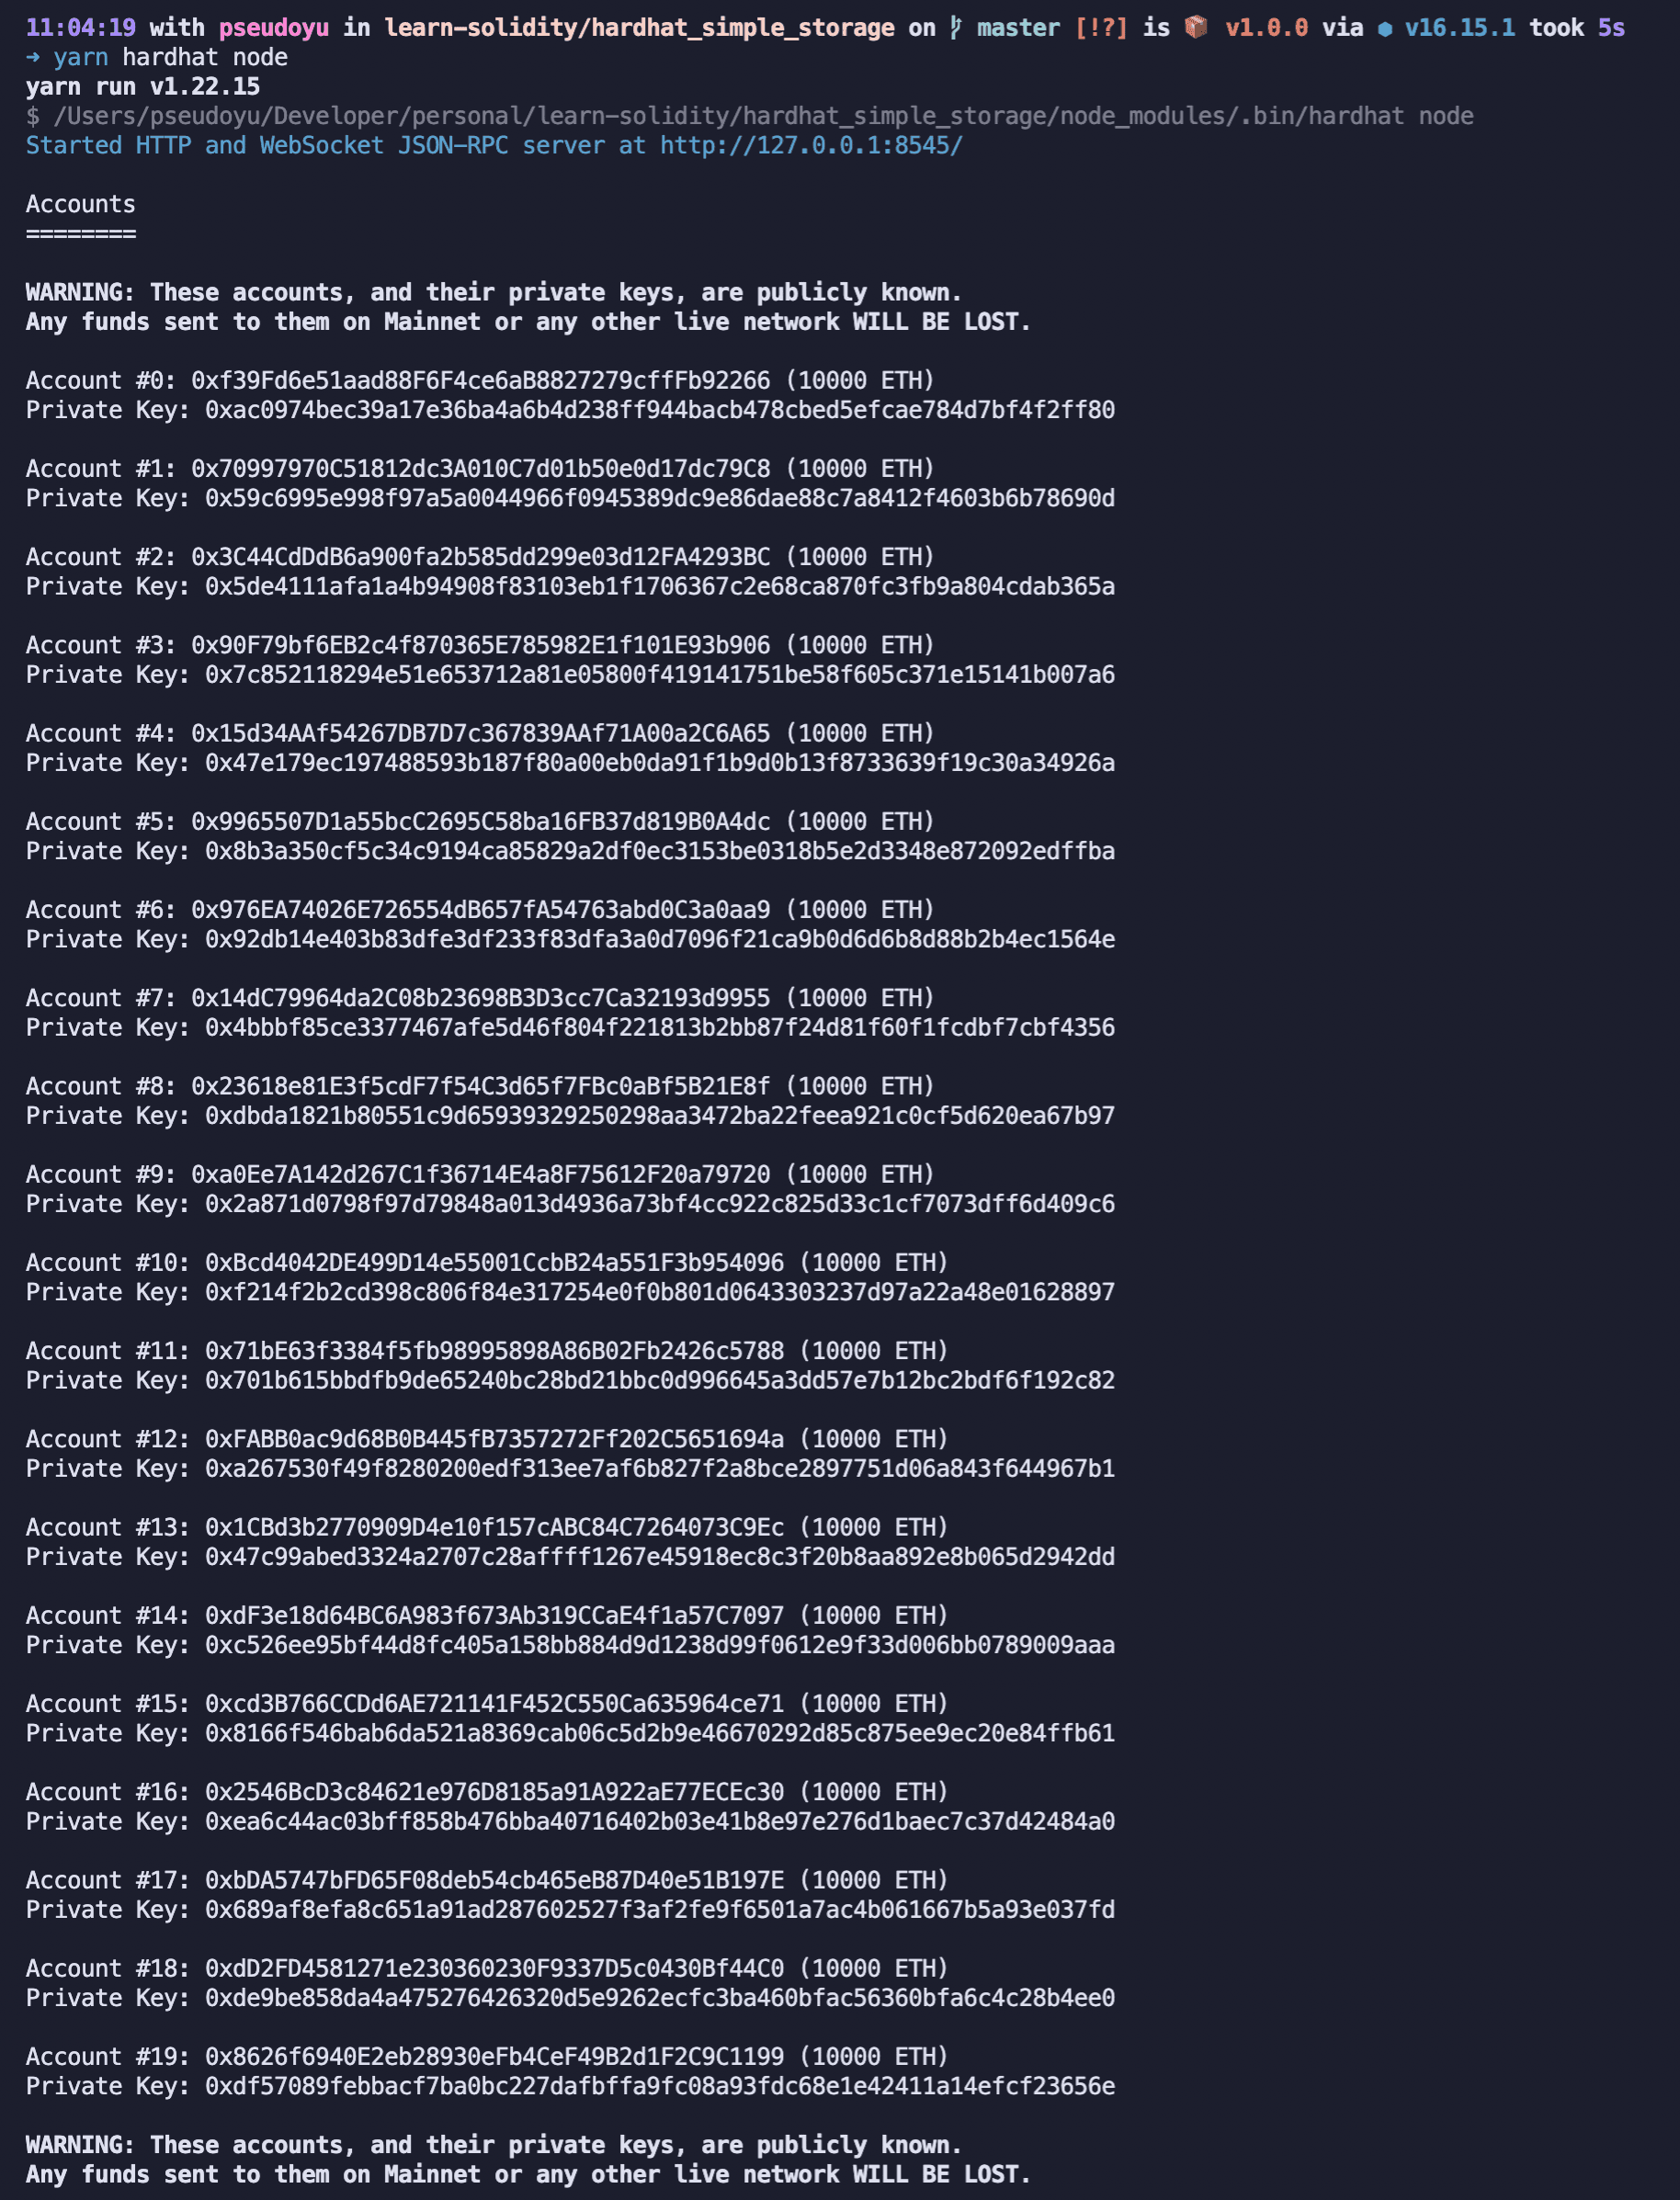
After execution, a test network and test accounts will be generated for subsequent development and debugging.
We can also generate our own test network nodes through platforms like Alchemy or Infura, recording their RPC_URL for program connection use.
Defining the Network#
After preparing the network environment, we can define the network in the project configuration hardhat.config.js:
const RINKEBY_RPC_URL =
    process.env.RINKEBY_RPC_URL || "https://eth-rinkeby/example"
const RINKEBY_PRIVATE_KEY = process.env.RINKEBY_PRIVATE_KEY || "0xkey"

module.exports = {
    defaultNetwork: "hardhat",
    networks: {
        locakhost: {
            url: "http://localhost:8545",
            chainId: 31337,
        },
        rinkeby: {
            url: RINKEBY_RPC_URL,
            accounts: [RINKEBY_PRIVATE_KEY],
            chainId: 4,

        },
    },
    // ...,
}
Scripts#
In a Hardhat project, we can implement deployment and other functions by writing scripts in the scripts directory and executing scripts through convenient commands.
Writing Deployment Scripts#
Next, we will start writing the deploy.js script.
First, we need to import the necessary packages from hardhat:
const { ethers, run, network } = require("hardhat")
Then we write the main method, which contains our core deployment logic:
async function main() {
    const SimpleStorageFactory = await ethers.getContractFactory(
        "SimpleStorage"
    )
    console.log("Deploying SimpleStorage Contract...")
    const simpleStorage = await SimpleStorageFactory.deploy()
    await simpleStorage.deployed()
    console.log("SimpleStorage Contract deployed at:", simpleStorage.address)

    // Get the current value
    const currentValue = await simpleStorage.retrieve()
    console.log("Current value:", currentValue)

    // Set the value
    const transactionResponse = await simpleStorage.store(7)
    await transactionResponse.wait(1)

    // Get the updated value
    const updatedValue = await await simpleStorage.retrieve()
    console.log("Updated value:", updatedValue)
}
Finally, we run our main method:
main()
    .then(() => process.exit(0))
    .catch((error) => {
        console.error(error)
        process.exit(1)
    })
Running the Script#
After completing the script writing, we can run the script using the run command provided by Hardhat.
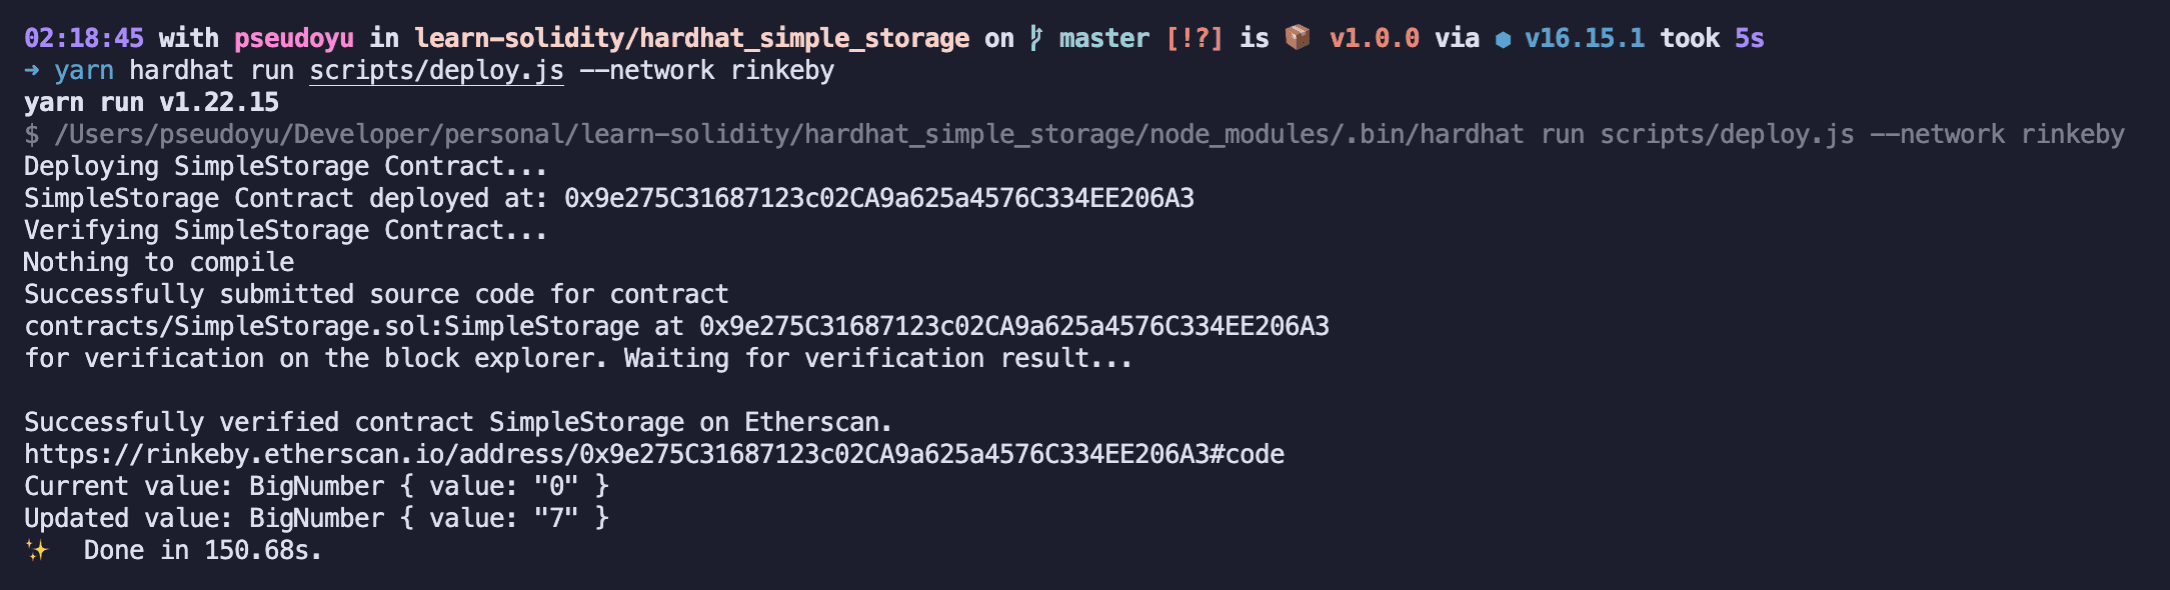
If no network parameter is added, it defaults to using the hardhat network, and we can specify the network using the --network parameter:
yarn hardhat run scripts/deploy.js --network rinkeby

Adding Etherscan Contract Verification Support#
After deploying the contract to the Rinkeby test network, you can view the contract address on Etherscan and verify it. We can operate through the website, but Hardhat provides plugin support for easier verification.
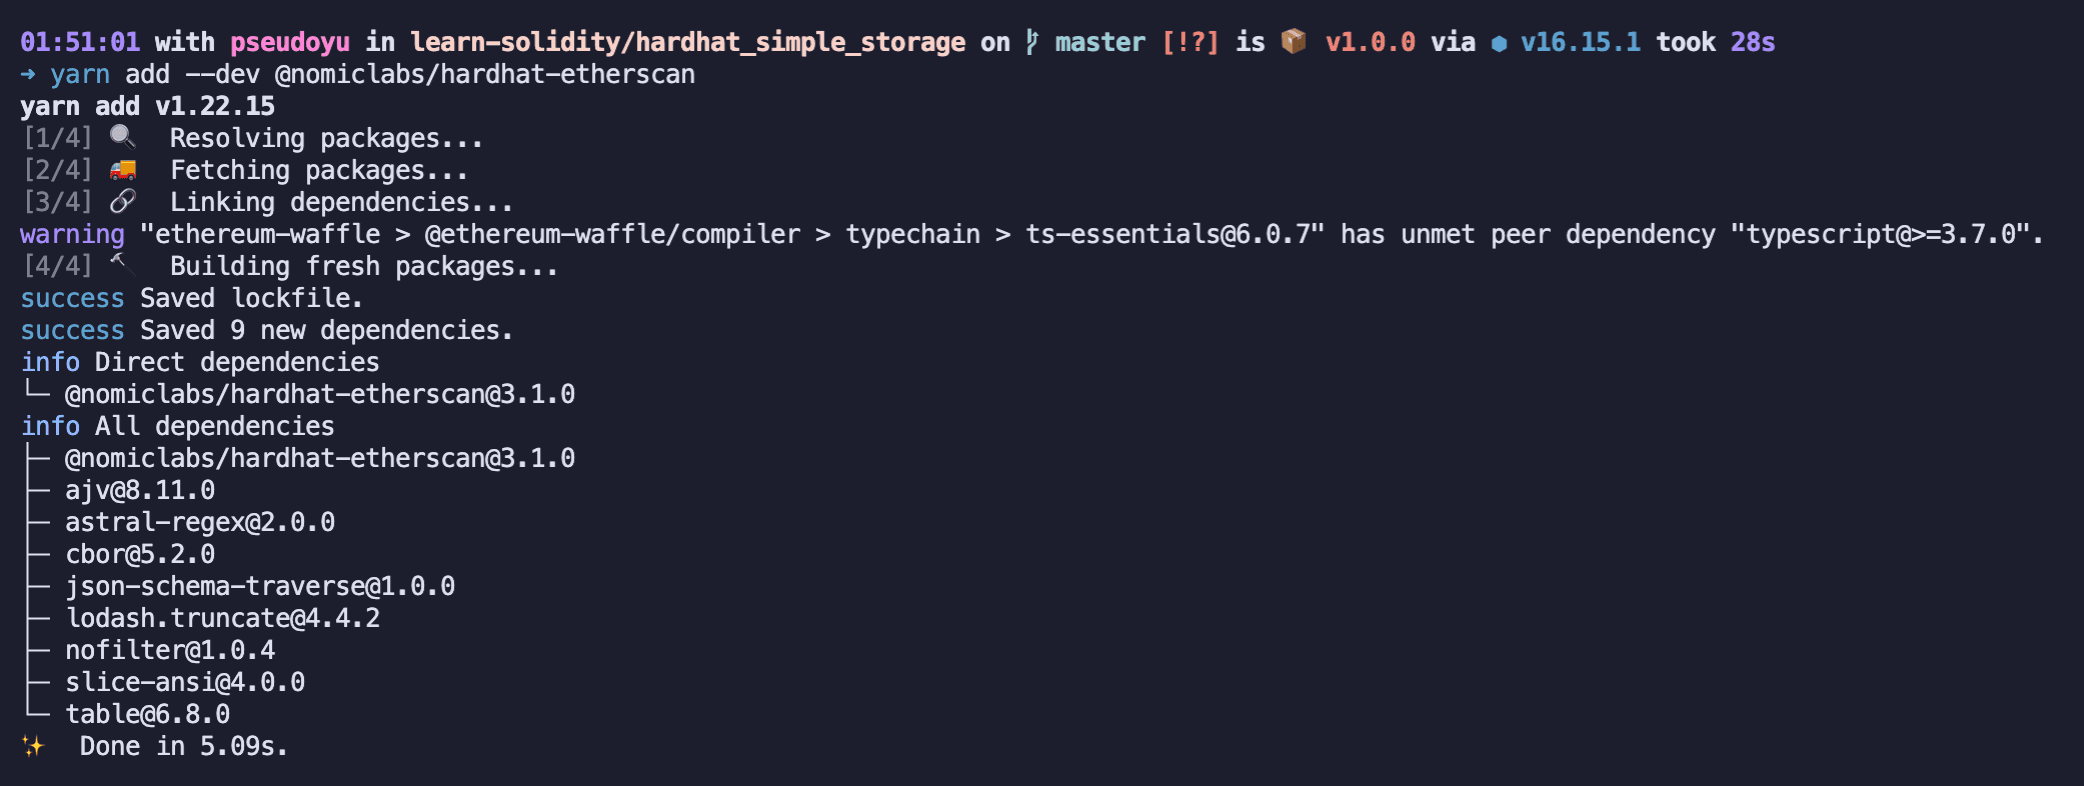
Installing the hardhat-etherscan Plugin#
We install the plugin using the command yarn add --dev @nomiclabs/hardhat-etherscan.
Enabling Etherscan Contract Verification Support#
After installation, we need to configure it in hardhat.config.js:
require("@nomiclabs/hardhat-etherscan")

module.exports = {
    // ...,
    etherscan: {
        apiKey: ETHERSCAN_API_KEY,
    },
    // ...,
}
Defining the Verify Method#
Next, we need to add the verify method in the deployment script deploy.js.
const { ethers, run, network } = require("hardhat")

async function verify(contractAddress, args) {
    console.log("Verifying SimpleStorage Contract...")
    try {
        await run("verify:verify", {
            address: contractAddress,
            constructorArguements: args,
        })
    } catch (e) {
        if (e.message.toLowerCase().includes("already verified!")) {
            console.log("Already Verified!")
        } else {
            console.log(e)
        }
    }
}
This method calls the run method from the hardhat package and passes a verify command along with a parameter { address: contractAddress, constructorArguements: args }. Since our contract may have already been verified on Etherscan, we perform a try...catch... error handling. If it has been verified, an error will be thrown, and a prompt message will be output without affecting our deployment process.
Setting Up Post-Deployment Calls#
After defining our verify method, we can call it in the deployment script:
async function main() {
    //...

    if (network.config.chainId === 4 && process.env.ETHERSCAN_API_KEY) {
        await simpleStorage.deployTransaction.wait(6)
        await verify(simpleStorage.address, [])
    }

    // ...
}
Here we have two special treatments.
First, we only need to verify the contract on the rinkeby network and not on local or other network environments. Therefore, we check network.config.chainId, and if it is 4, we execute the verification operation; otherwise, we do not execute it. Additionally, we only perform the verification operation when the ETHERSCAN_API_KEY environment variable is present.
Moreover, Etherscan may take some time to retrieve the contract address after deployment, so we configure .wait(6) to wait for 6 blocks before verifying.
The execution effect is as follows:
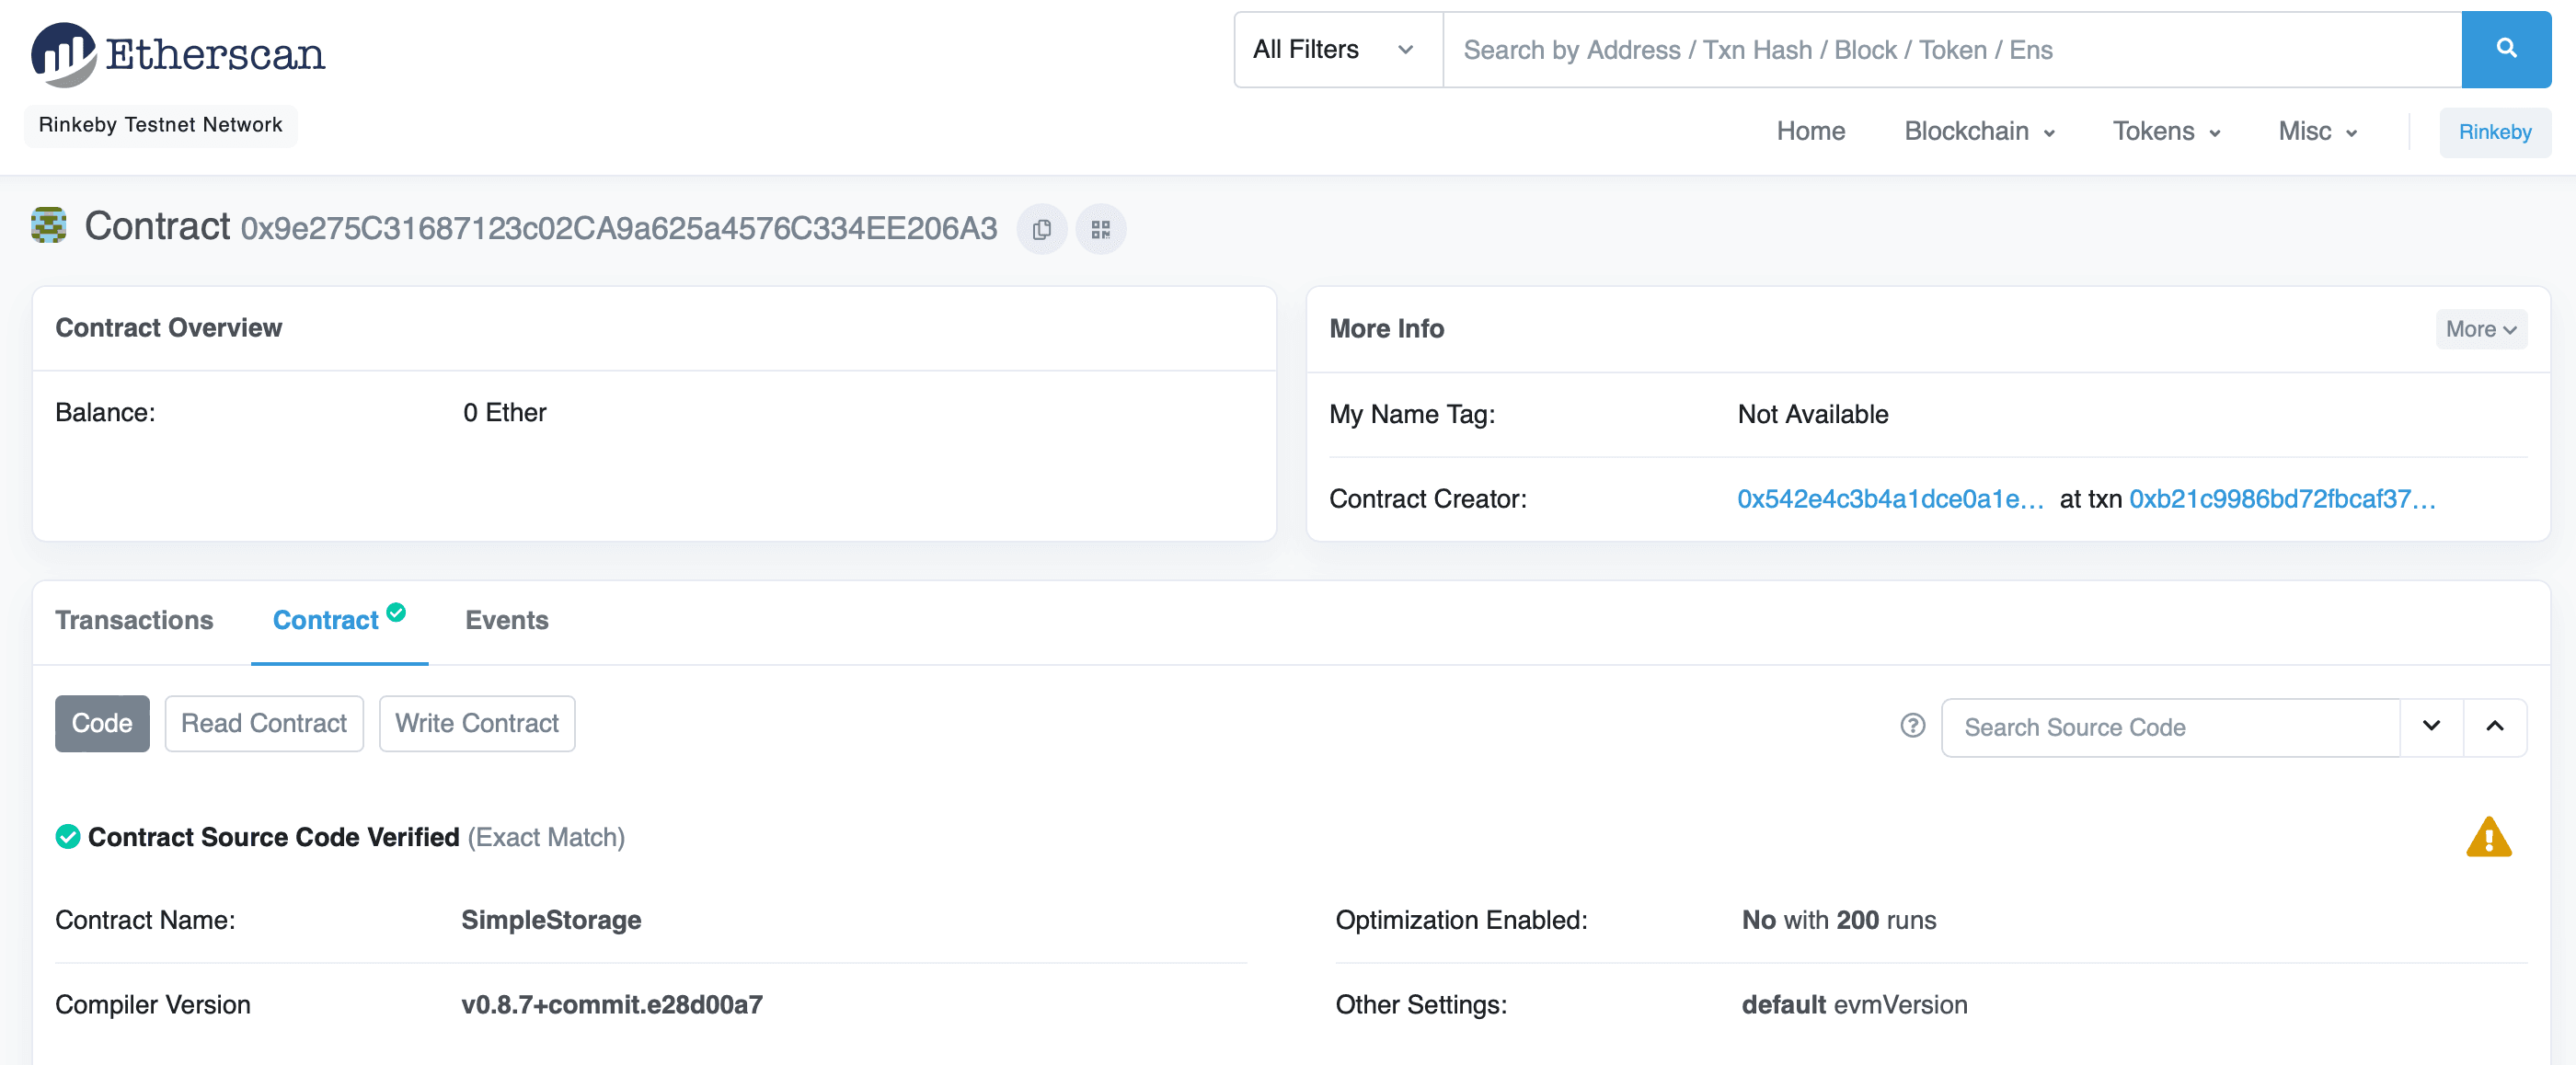
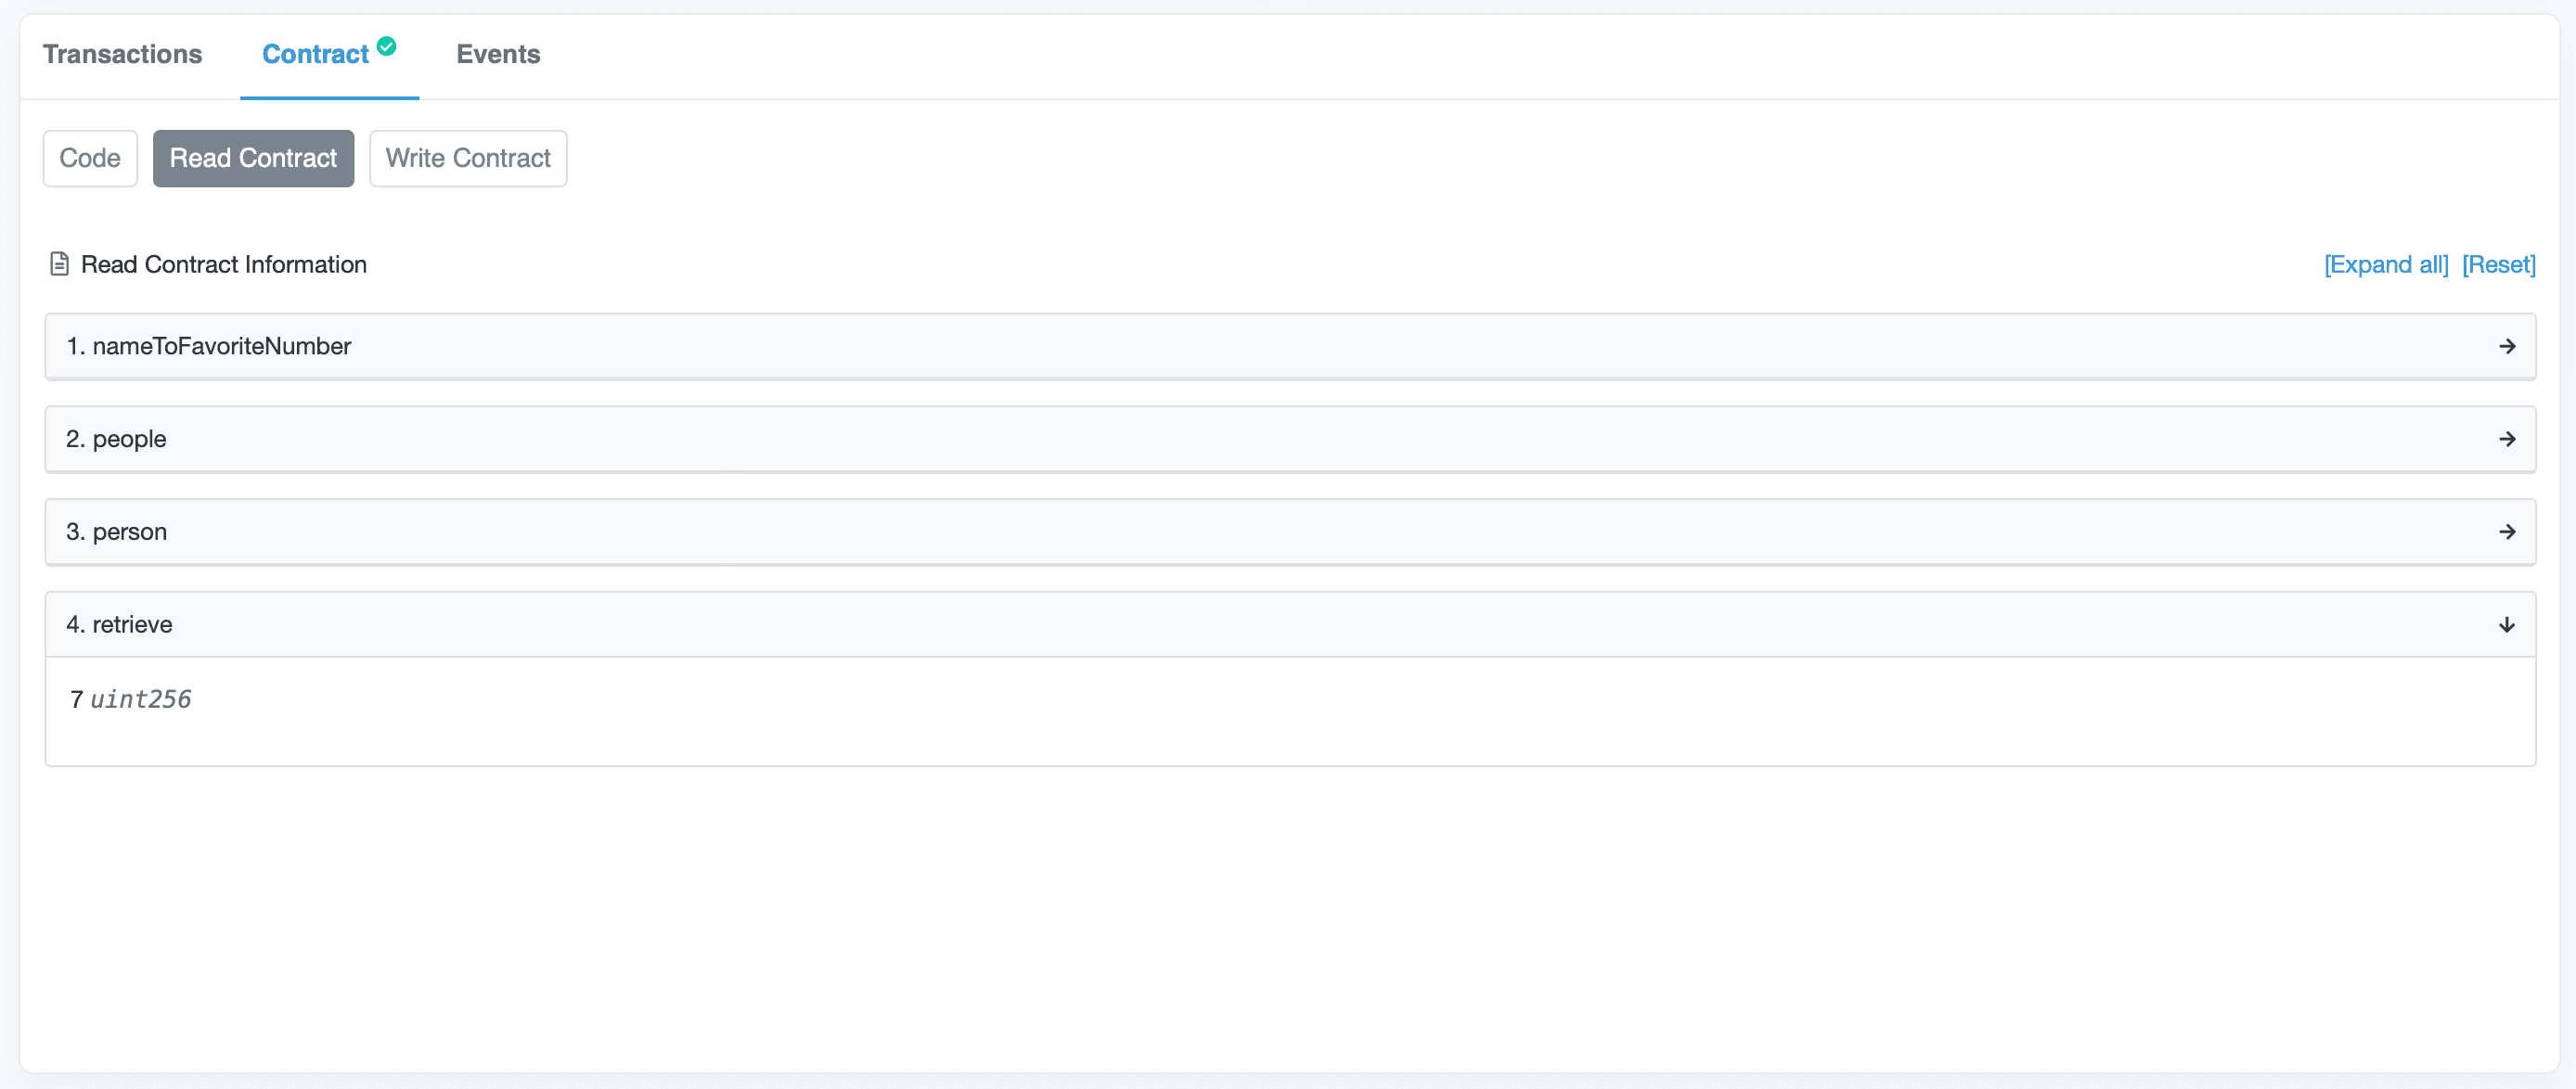
After verifying through Etherscan, we can directly view the contract source code and interact with it.
Contract Testing#
For smart contracts, most operations require deployment on-chain, interacting with assets, consuming gas, and any security vulnerabilities can lead to serious consequences. Therefore, we need to conduct detailed testing of smart contracts.
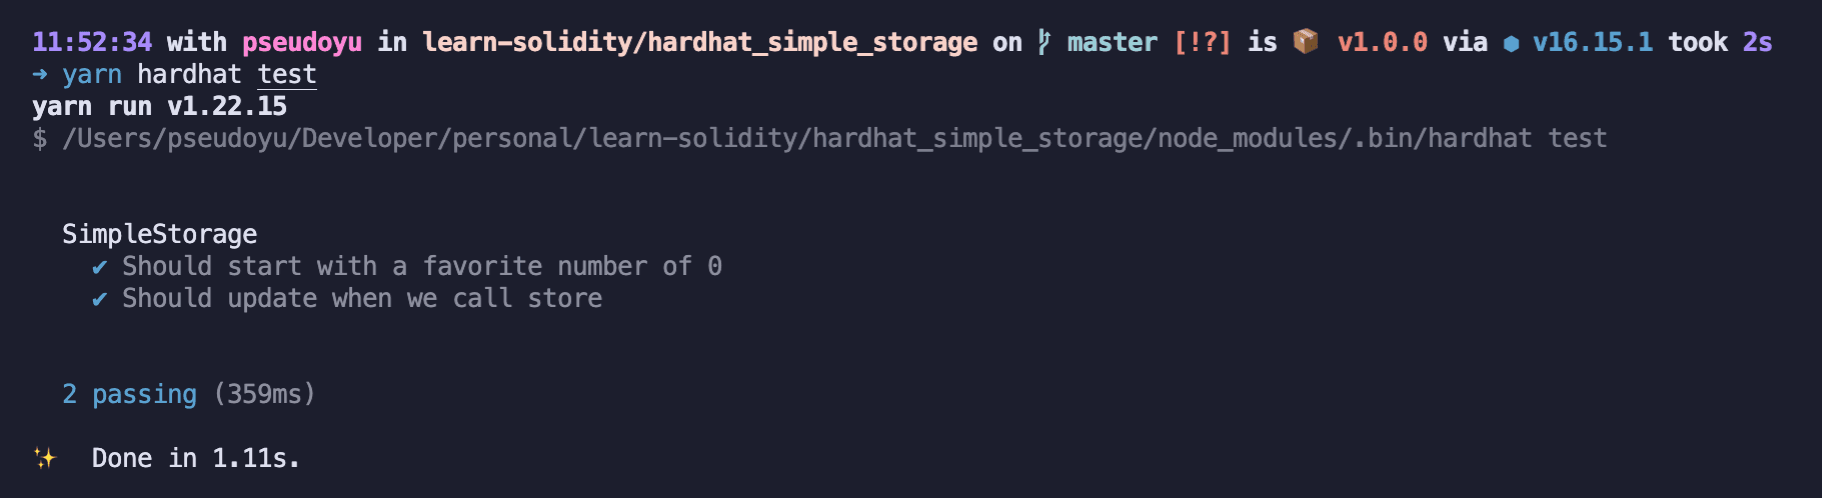
Hardhat provides complete testing and debugging tools, allowing us to write test scripts in the tests directory and run tests using the yarn hardhat test command.
Writing Test Scripts#
We will write a test-deploy.js test program for our deployment script, first importing the necessary packages:
const { assert } = require("chai")
const { ethers } = require("hardhat")
Then we write the test logic:
describe("SimpleStorage", () => {
    let simpleStorageFactory, simpleStorage
    beforeEach(async () => {
        simpleStorageFactory = await ethers.getContractFactory("SimpleStorage")
        simpleStorage = await simpleStorageFactory.deploy()
    })

    it("Should start with a favorite number of 0", async () => {
        const currentValue = await simpleStorage.retrieve()
        const expectedValue = "0"

        assert.equal(currentValue.toString(), expectedValue)
        // expect(currentValue.toString()).to.equal(expectedValue)
    })

    it("Should update when we call store", async () => {
        const expectedValue = "7"
        const transactionRespense = await simpleStorage.store(expectedValue)
        await transactionRespense.wait(1)

        const currentValue = await simpleStorage.retrieve()

        assert.equal(currentValue.toString(), expectedValue)
        // expect(currentValue.toString()).to.equal(expectedValue)
    })
In Hardhat's test scripts, we use describe to wrap the test class and it to wrap the test methods. We need to ensure that the contract is deployed before testing, so we call simpleStorageFactory.deploy() in the beforeEach method, and assign the returned simpleStorage object to the simpleStorage variable.
We use assert.equal(currentValue.toString(), expectedValue) to compare the execution result with the expected result, and we can use expect(currentValue.toString()).to.equal(expectedValue) as an alternative, which has the same effect.
Additionally, we can use it.only() to specify that only one of the test methods should be executed.
Executing Test Scripts#
We run the tests using yarn hardhat test, and we can specify the test method using yarn hardhat test --grep store.
Adding gas-reporter Support#
As mentioned above, gas is a resource we need to pay special attention to during development, especially on the Ethereum mainnet where it is particularly expensive. Therefore, we need to check gas consumption during testing. HardHat also has a gas-reporter plugin that can conveniently output gas consumption information.
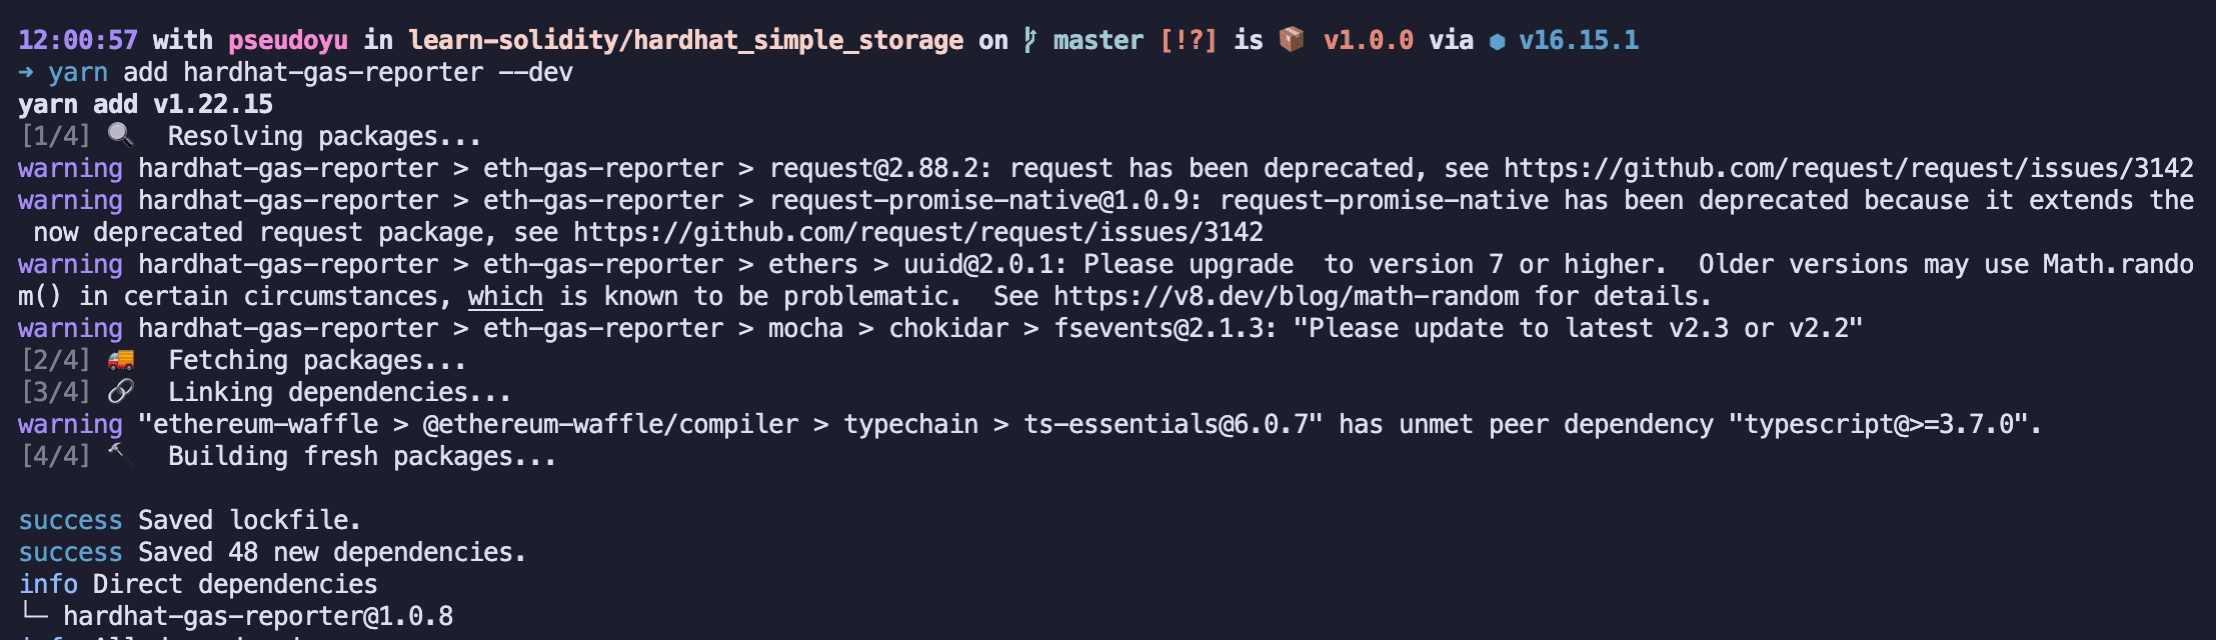
Installing the gas-reporter Plugin#
We install the plugin using the command yarn add --dev hardhat-gas-reporter:
Enabling gas-reporter Support#
We enable the plugin by adding gasReporter: true and additional configuration items in hardhat.config.js:
require("hardhat-gas-reporter")

const COINMARKETCAP_API_KEY = process.env.COINMARKETCAP_API_KEY || "key"

module.exports = {
    // ...,
    gasReporter: {
        enabled: true,
        outputFile: "gas-reporter.txt",
        noColors: true,
        currency: "USD",
        coinmarketcap: COINMARKETCAP_API_KEY,
        token: "MATIC",
    },
}
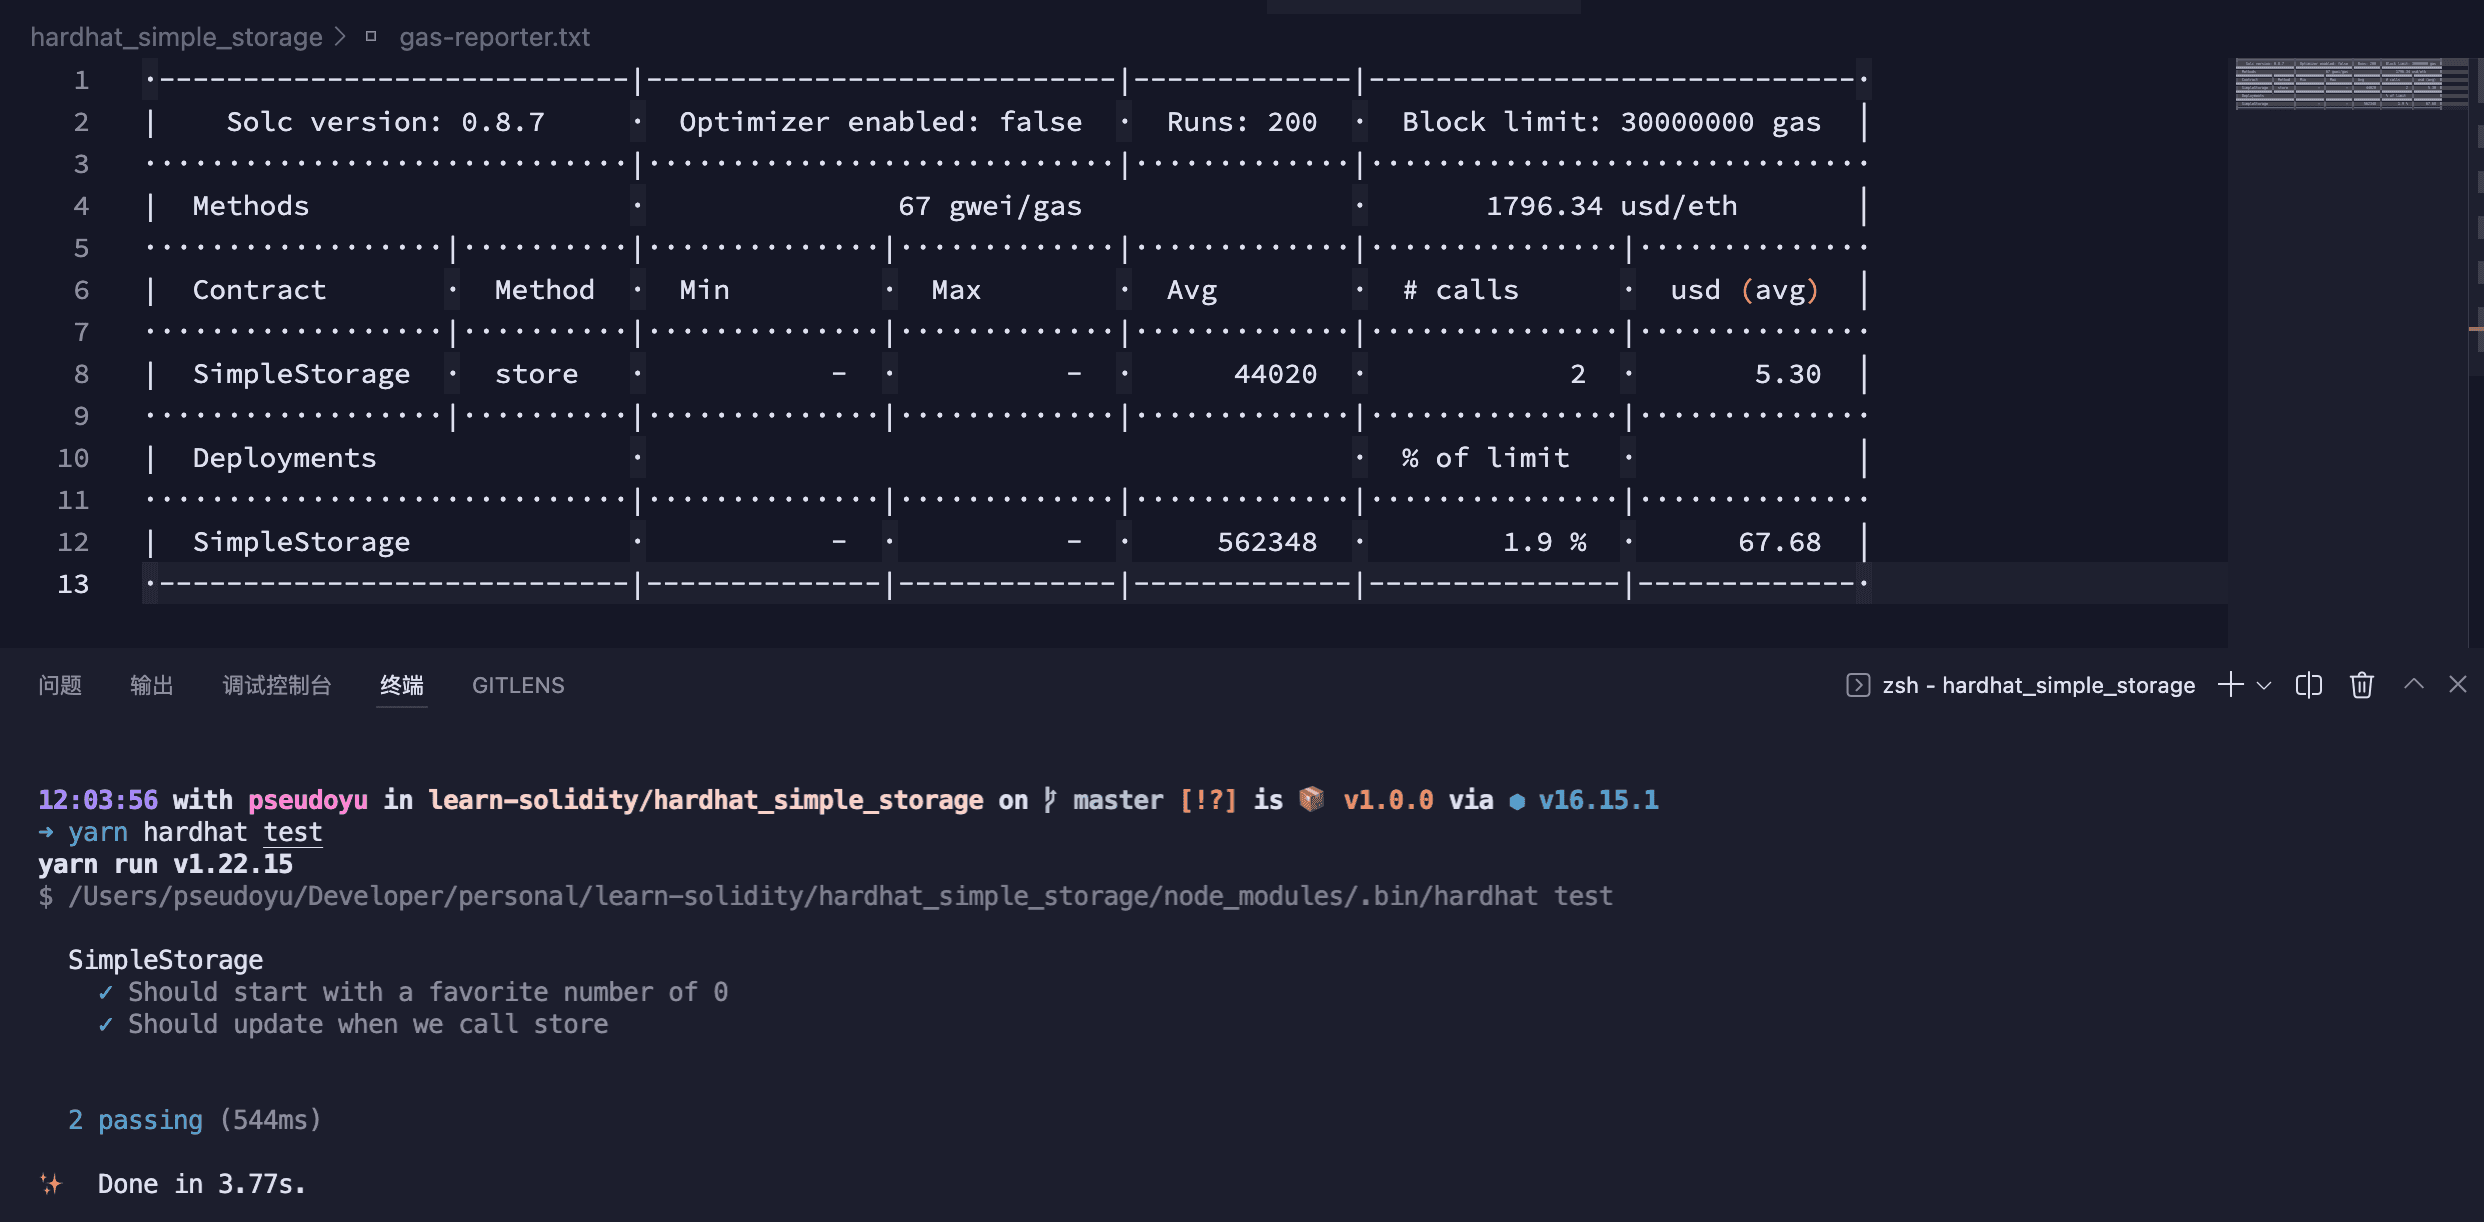
We can specify the output file, whether to enable colors, specify the currency, specify the token name, and specify the CoinMarketCap API key for further control over the output.
With the above configuration, running yarn hardhat test will produce the following output:
Adding solidity-coverage Support#
Contract testing is crucial for ensuring the correctness of business logic and security prevention, so we need to perform coverage testing on contracts. HardHat also has a solidity-coverage plugin that can conveniently output coverage information.
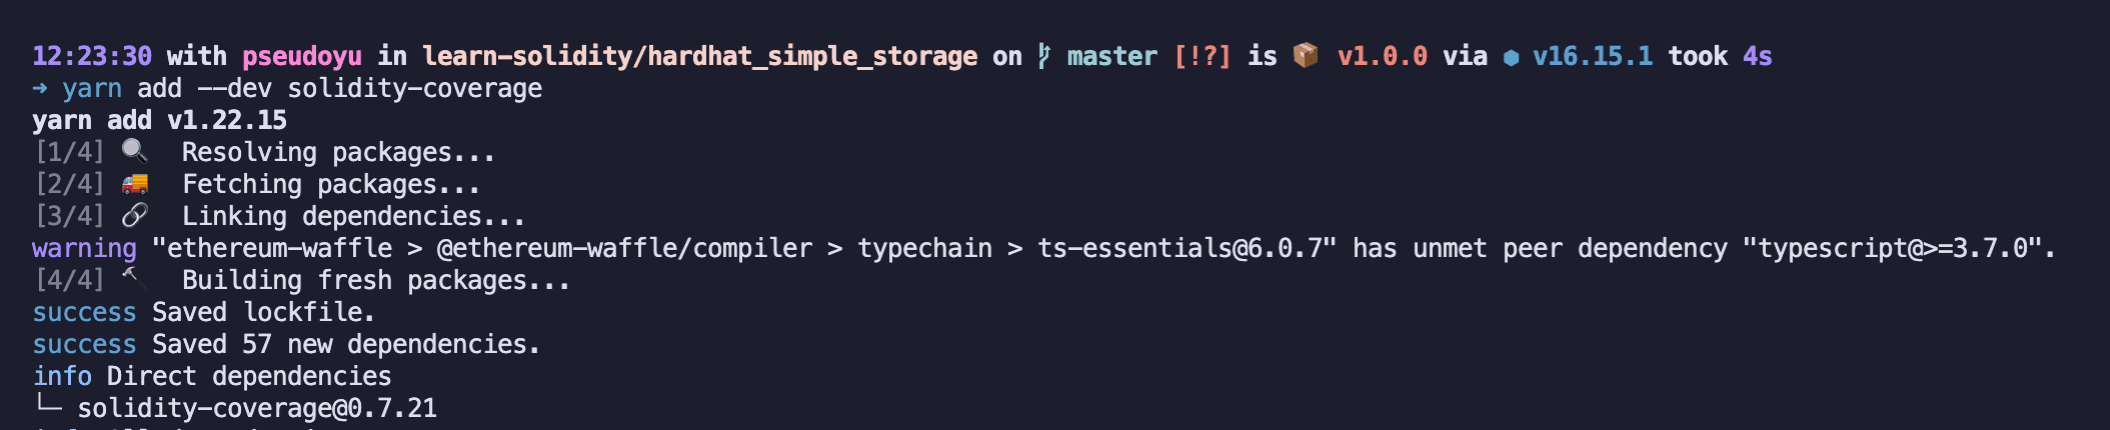
Installing the solidity-coverage Plugin#
We install the plugin using the command yarn add --dev solidity-coverage:
Enabling solidity-coverage Support#
We only need to import the package in hardhat.config.js to add coverage testing support:
require("solidity-coverage")
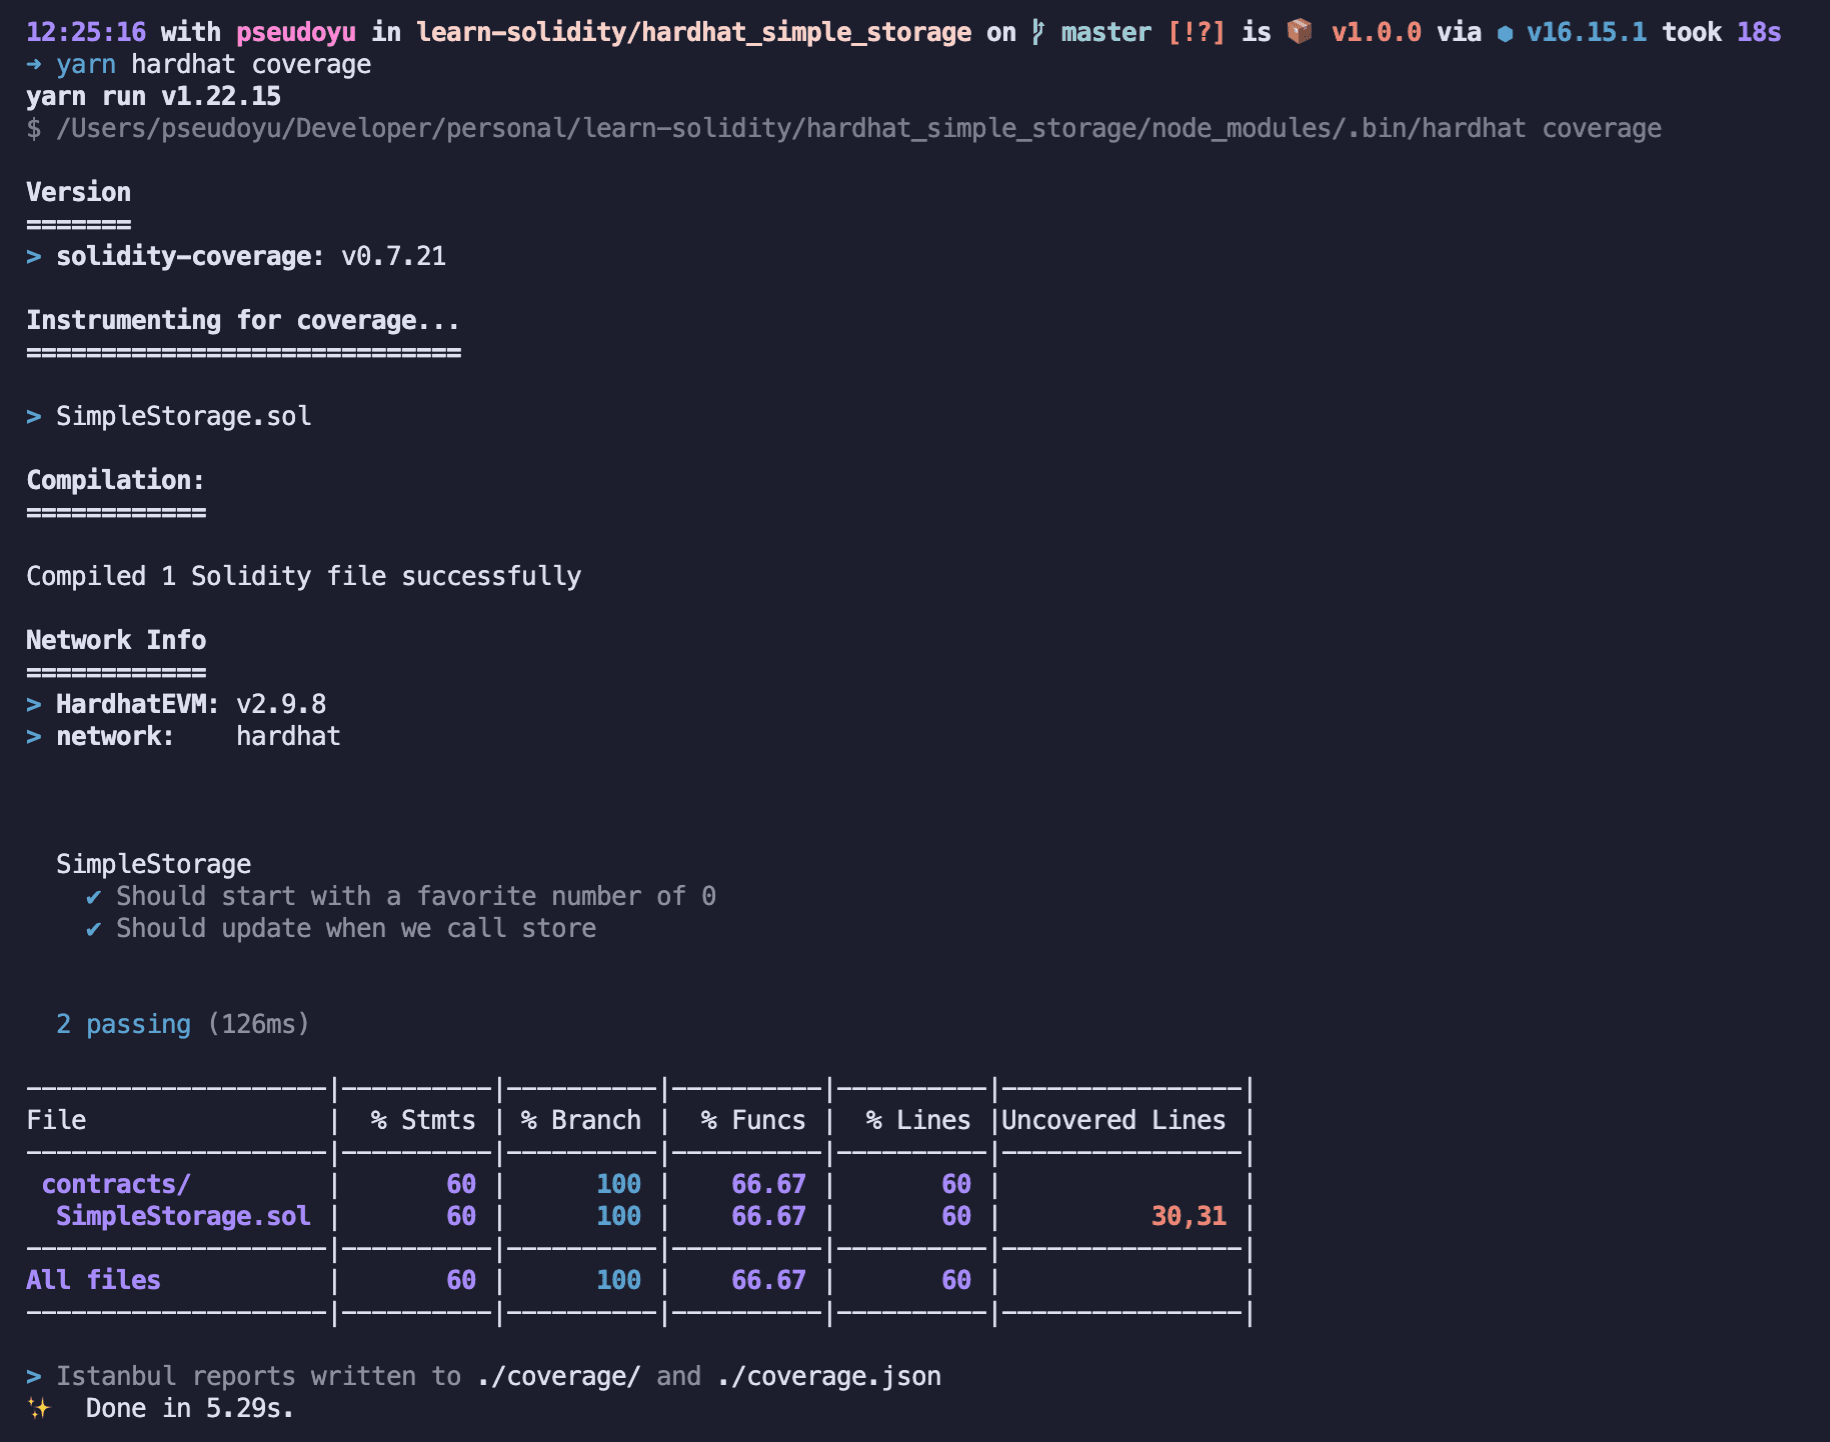
Running Coverage Tests#
You can run coverage tests using yarn hardhat coverage:
Task#
In the above text, we have covered some basic functions and scripts of the hardhat library. In addition, we can also define some custom tasks for development and debugging purposes.
Writing a Task#
In Hardhat, we define tasks in the tasks directory. We will write a block-number.js task to get the block height:
const { task } = require("hardhat/config")

task("block-number", "Prints the current block number").setAction(
    async (taskArgs, hre) => {
        const blockNumber = await hre.ethers.provider.getBlockNumber()
        console.log(`Current Block Number: ${blockNumber}`)
    }
)
Tasks are created using the task() method and the execution function is set using the setAction() method. Here, taskArgs is an object containing all parameters, and hre is a HardhatRuntimeEnvironment object that can be used to access other resources.
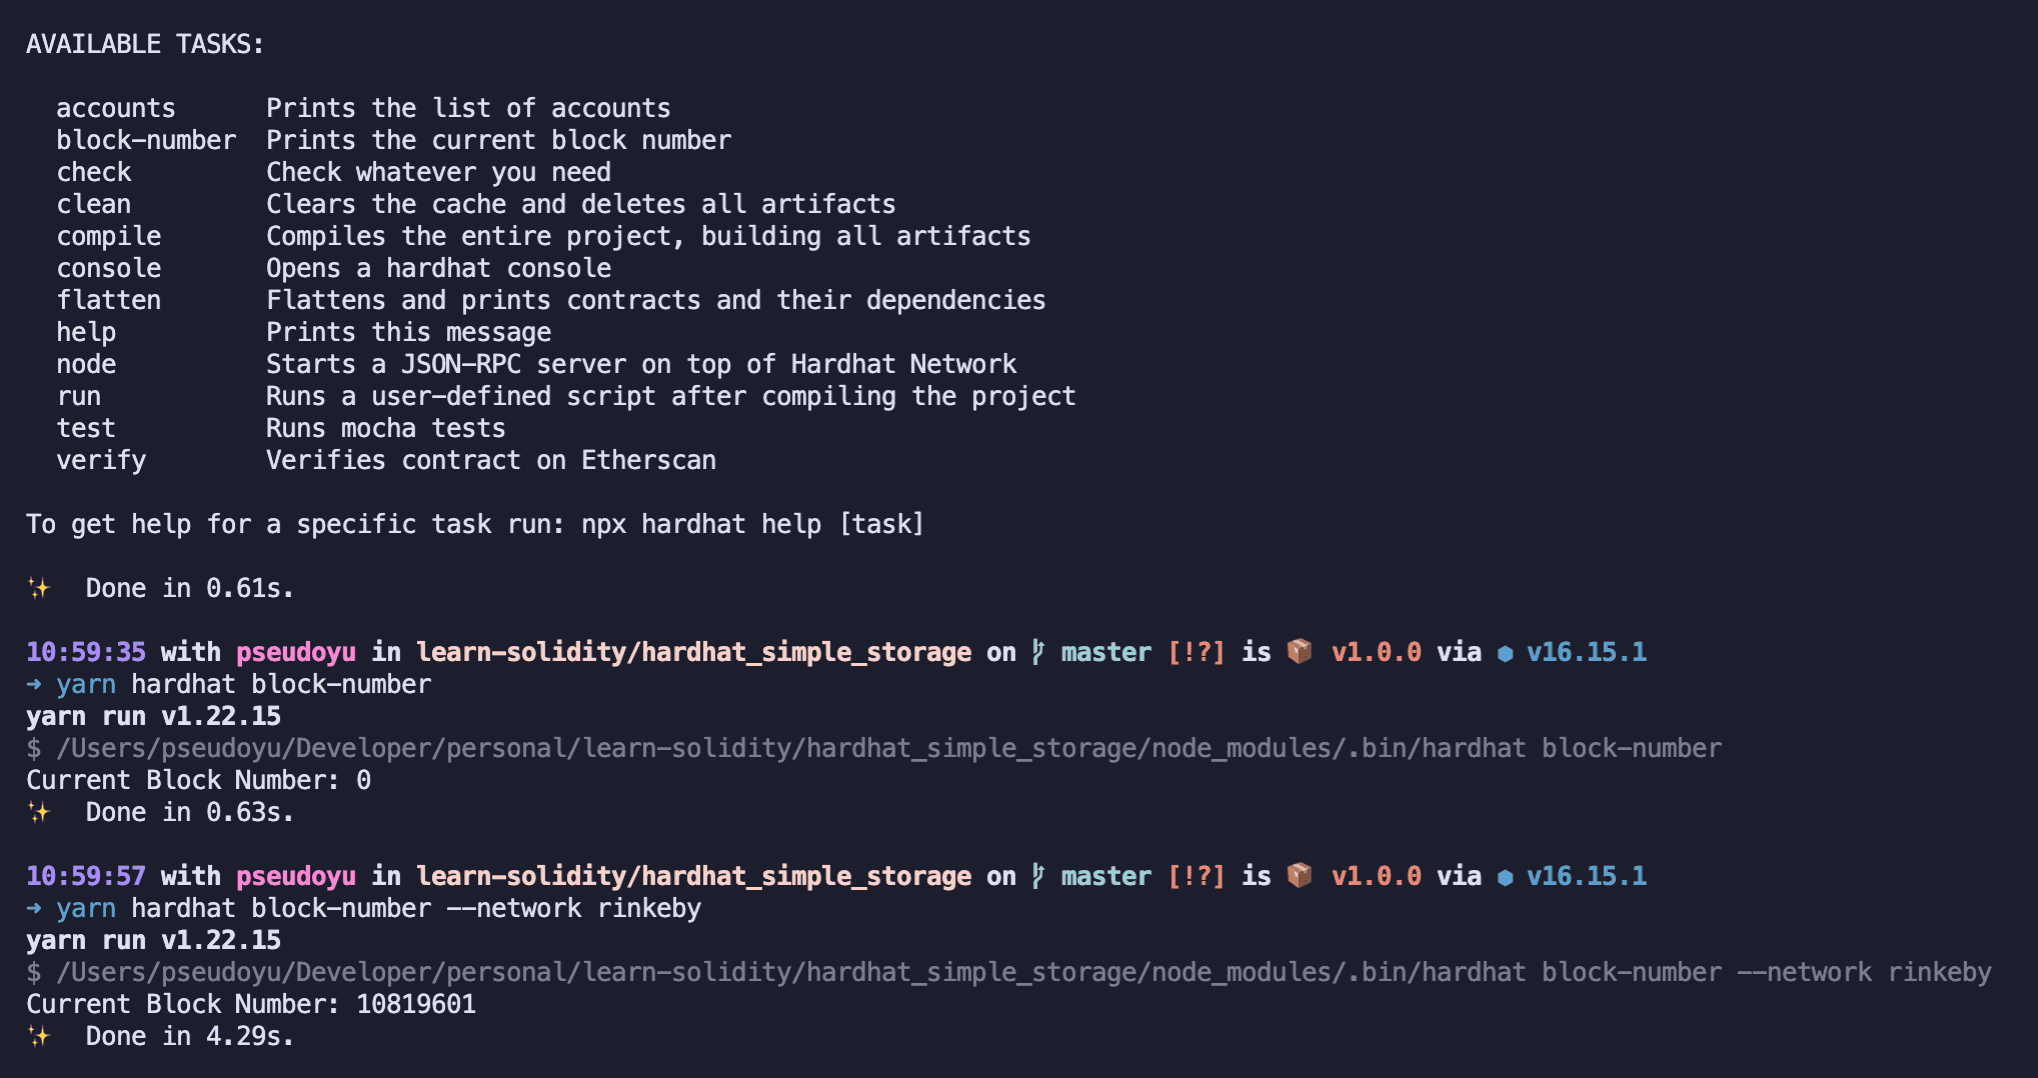
Running the Task#
After defining it, our newly defined block-number task will appear in the AVAILABLE TASKS of the project command, and we can run the task using the command yarn hardhat block-number. Similarly, we can specify a specific network to run:
yarn hardhat block-number --network rinkeby
Hardhat Console#
Finally, in addition to interacting with the chain/contracts through code, we can also use the Hardhat Console to debug the project and check the chain status, contract inputs, outputs, etc. We can open the Hardhat Console and interact by running the command yarn hardhat console.

Summary#
This concludes my basic configuration and usage of the Hardhat framework. It is a powerful development framework, and I will continue to explore its more features and usage techniques in the future. If you are interested, please continue to follow, and I hope this will be helpful to everyone.