Preface#
In the previous article, "Solidity Smart Contract Development - Basics", we learned the basic syntax of Solidity and understood how to debug using frameworks like Brownie and HardHat. In another article, "Solidity Smart Contract Development - Mastering Web3.py", we also interacted directly with our local Ganache node using Web3.py.
Initially, I wanted to use the Brownie framework for further development because I was more familiar with Python. However, after some research, I found that the industry predominantly uses the HardHat framework, which has more extensions, and the Solidity tutorial I was following has also updated to a JavaScript version, so I decided to learn it.
To better understand its principles and lay a solid foundation for using the framework later, we will interact with the Rinkeby test network deployed on the Alchemy platform using ethers.js. We will implement basic functionalities such as contract compilation, deployment to the Rinkeby network, and interaction with the contract.
You can click here to access the demo code repository for this test.
ethers.js#
ethers.js is an open-source library for JavaScript that allows interaction with the Ethereum network. Its GitHub address is ethers.io/ethers.js, and you can access its official documentation for usage.
Installation#
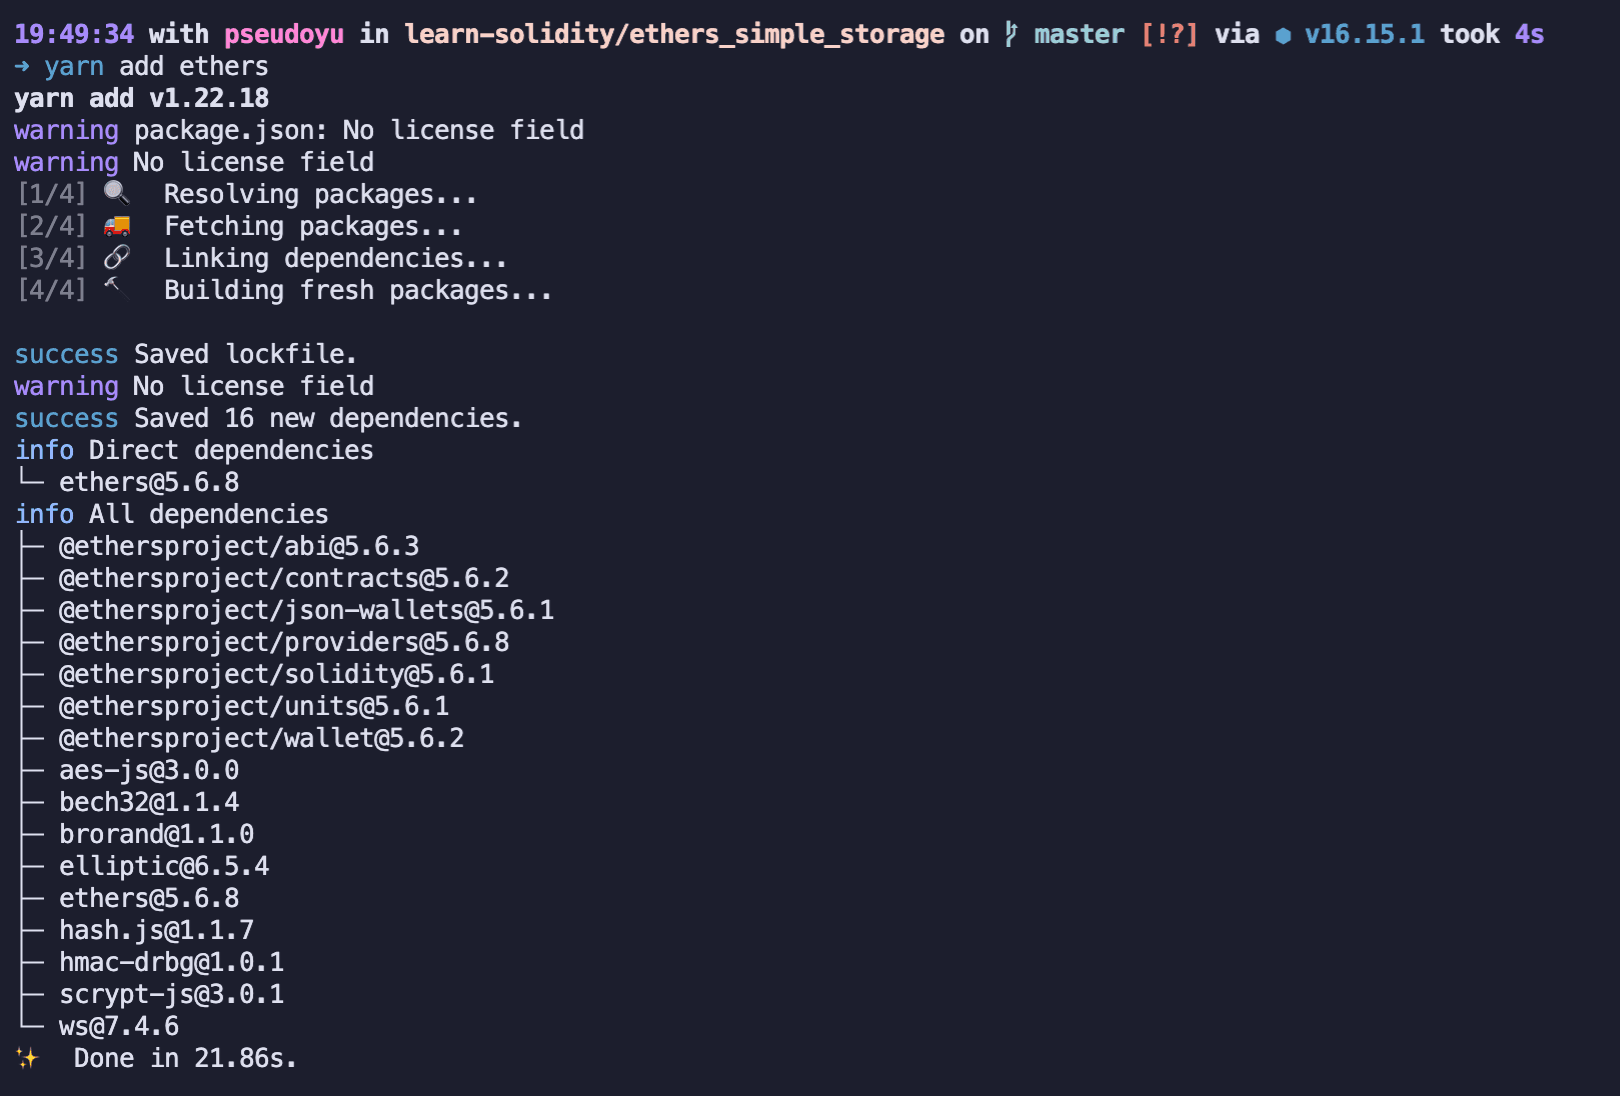
We can install ethers.js using yarn, as follows:
yarn add ethers
Usage#
You can use the library by importing it with require:
const ethers = require('ethers');
Solidity Contract Compilation#
Contract Source Code#
// SPDX-License-Identifier: MIT

pragma solidity ^0.8.7;

contract SimpleStorage {
    uint256 favoriteNumber;
    bool favoriteBool;

    struct People {
        uint256 favoriteNumber;
        string name;
    }

    People public person = People({favoriteNumber: 2, name: "Arthur"});

    People[] public people;

    mapping(string => uint256) public nameToFavoriteNumber;

    function store(uint256 _favoriteNumber) public returns (uint256) {
        favoriteNumber = _favoriteNumber;
        return favoriteNumber;
    }

    function retrieve() public view returns (uint256) {
        return favoriteNumber;
    }

    function addPerson(string memory _name, uint256 _favoriteNumber) public {
        people.push(People({favoriteNumber: _favoriteNumber, name: _name}));
        nameToFavoriteNumber[_name] = _favoriteNumber;
    }
}
This is a simple storage contract that uses a People structure to store names and their favorite numbers, and it uses an array to store information about multiple people, providing methods for adding and retrieving data.
Reading the Contract Source File#
After completing the Solidity contract writing and syntax checking using VSCode or another editor, we need to compile the contract into abi files and bytecode.
We can install the solc command-line tool using yarn and select the corresponding version with the following command:
yarn add [email protected]
Once installed, we can compile using the solcjs command as follows:
yarn solcjs --bin --abi --include-path node_modules/ --base-path . -o . SimpleStorage.sol
Since compiling contracts is a frequent operation, we can configure a compile script command in package.json as follows:
"scripts": {
    "compile": "yarn solcjs --bin --abi --include-path node_modules/ --base-path . -o . SimpleStorage.sol"
}
After that, simply executing yarn compile will generate the contract compilation files.
Getting Compilation Results#
After compilation, abi and bytecode files will be generated, with .bin and .abi as their respective suffixes.
Getting bytecode and abi#
Deploying and interacting with Solidity contracts requires both bytecode and abi. We can write them into corresponding variables for later use with the following code:
const fs = require('fs-extra');

const abi = fs.readFileSync("./SimpleStorage_sol_SimpleStorage.abi", "utf-8");
const binary = fs.readFileSync("./SimpleStorage_sol_SimpleStorage.bin", "utf-8");
Creating Rinkeby Test Network Environment (Alchemy)#
Debugging smart contracts requires deploying them to an actual chain. We choose to deploy to the Rinkeby test network on the Alchemy platform for further debugging and development.
Alchemy Platform#
First, we visit the Alchemy official website, register, and log in. We will see its Dashboard, which displays all created applications.
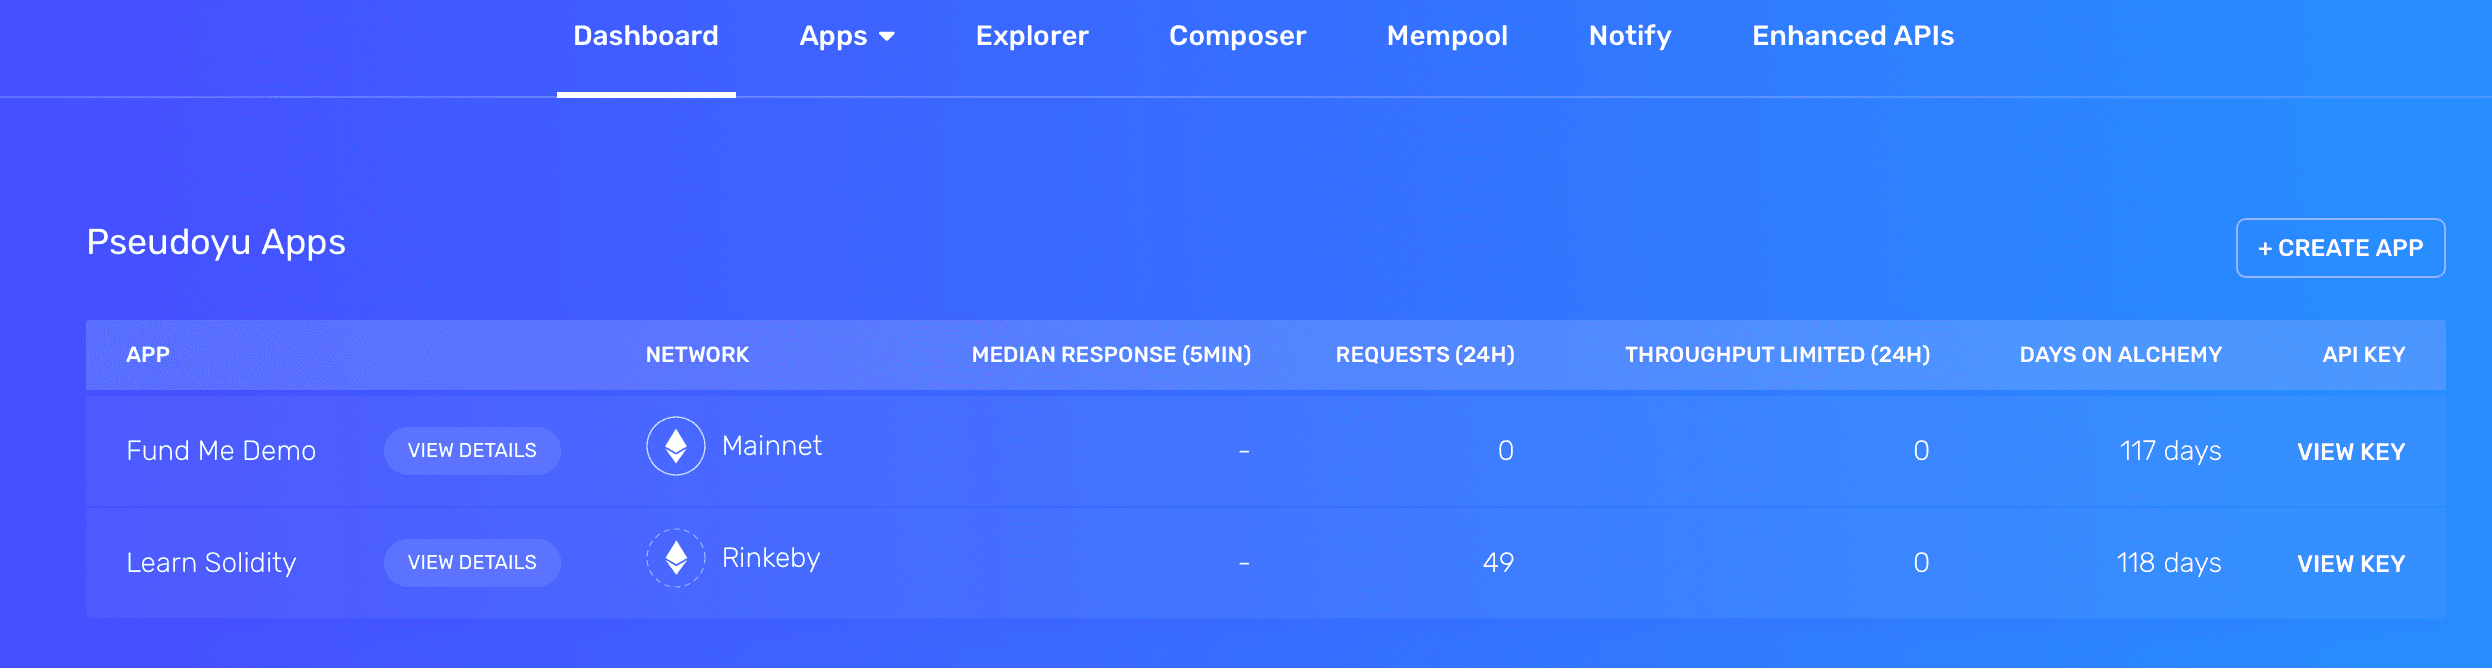
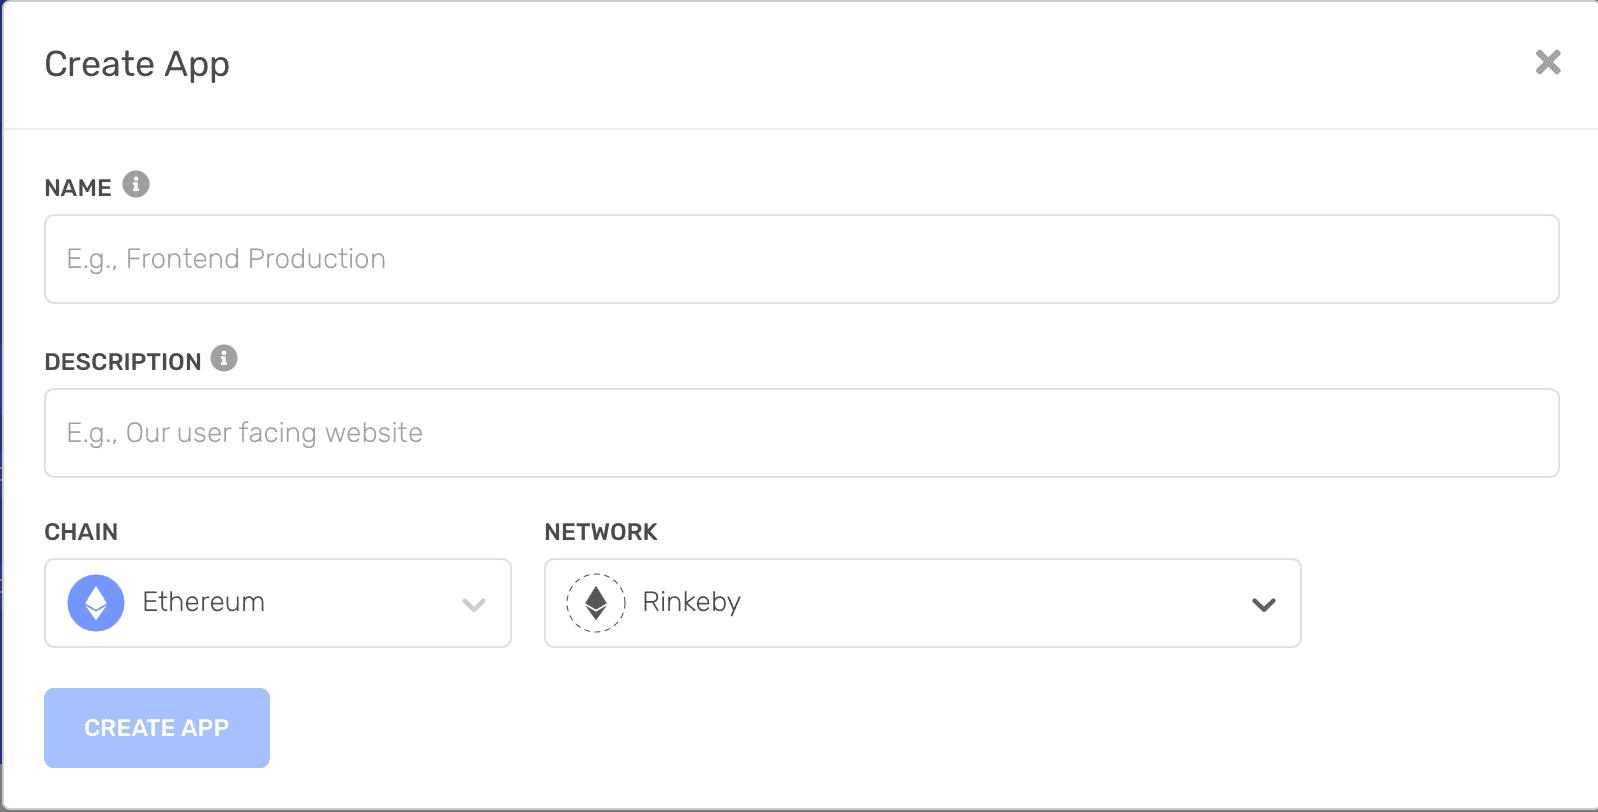
After installation, select Create App to quickly create a Rinkeby test network node.
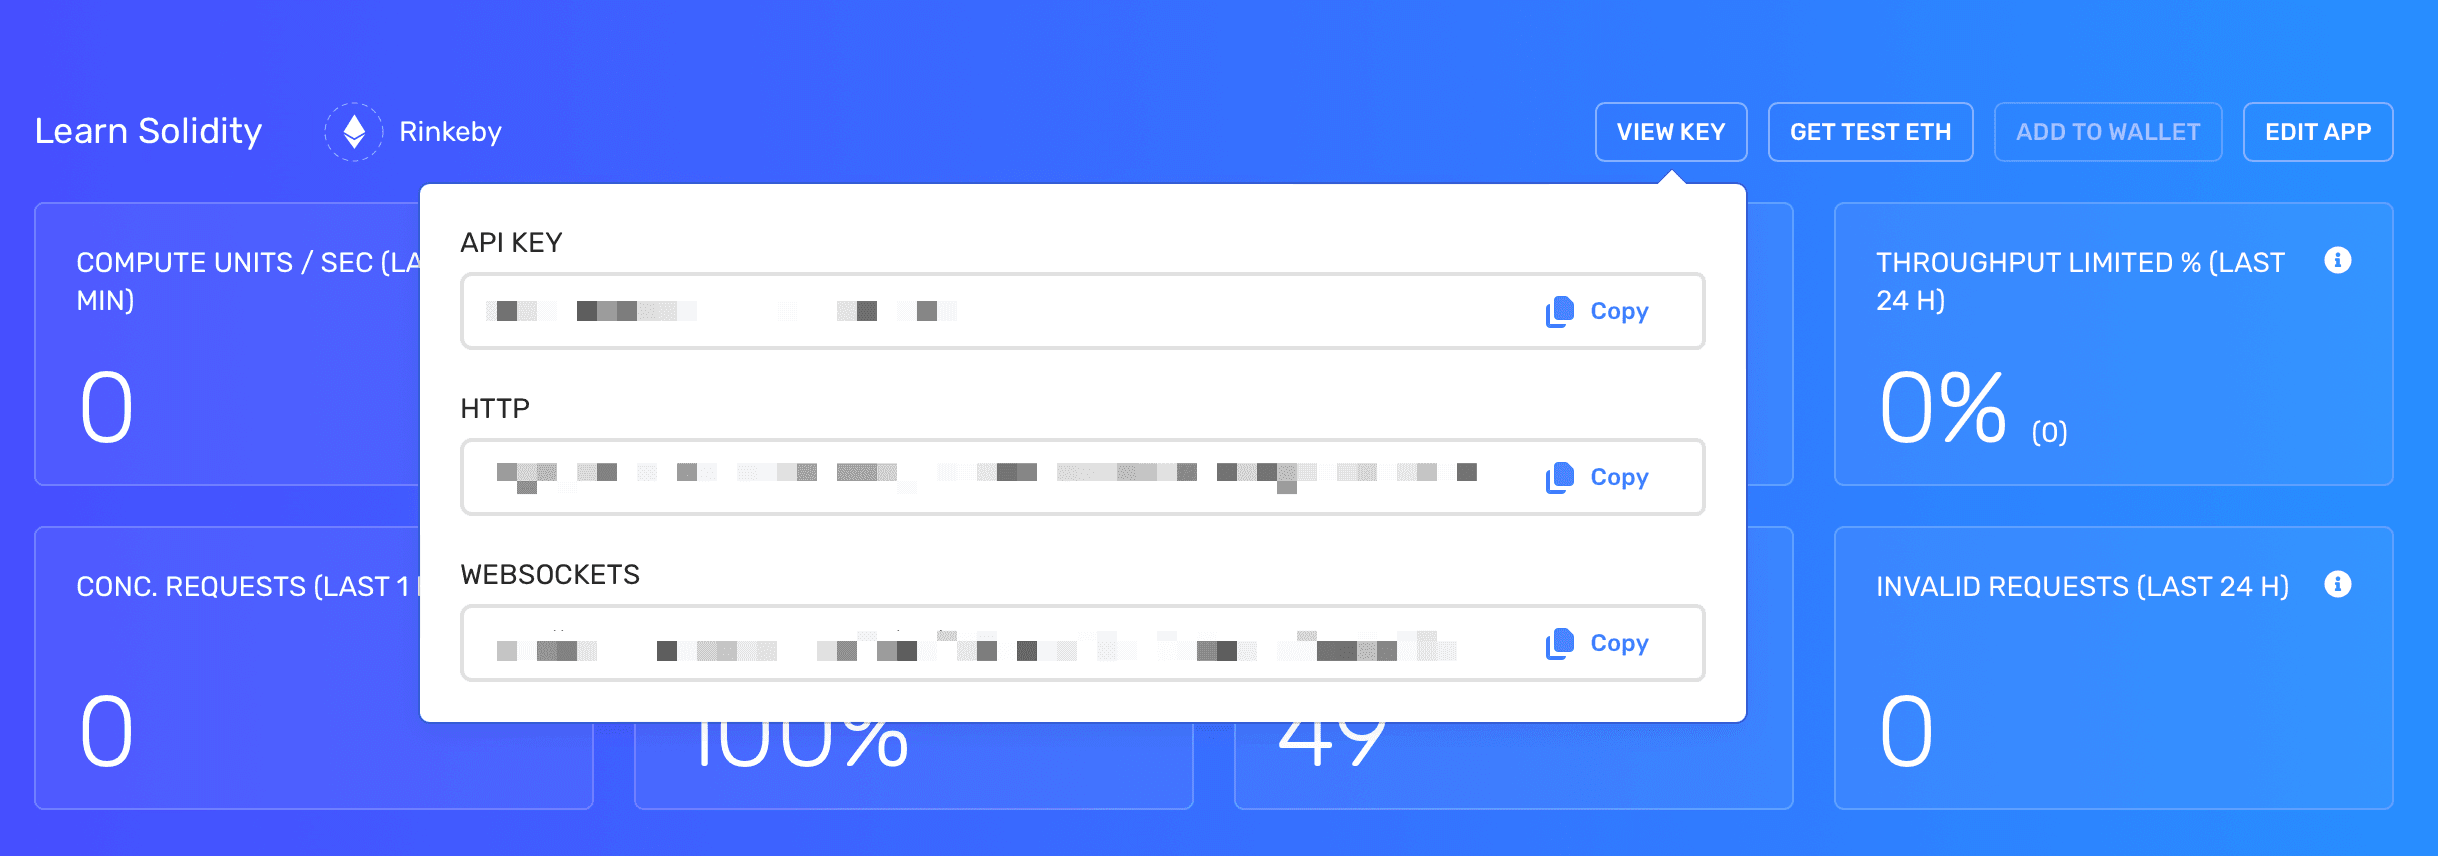
Once created, click View Details to see the detailed information of the app we just created. Click the View Key in the upper right corner to check our node information. We need to record the HTTP URL for later connection.
Creating Rinkeby Test Account (MetaMask)#
MetaMask#
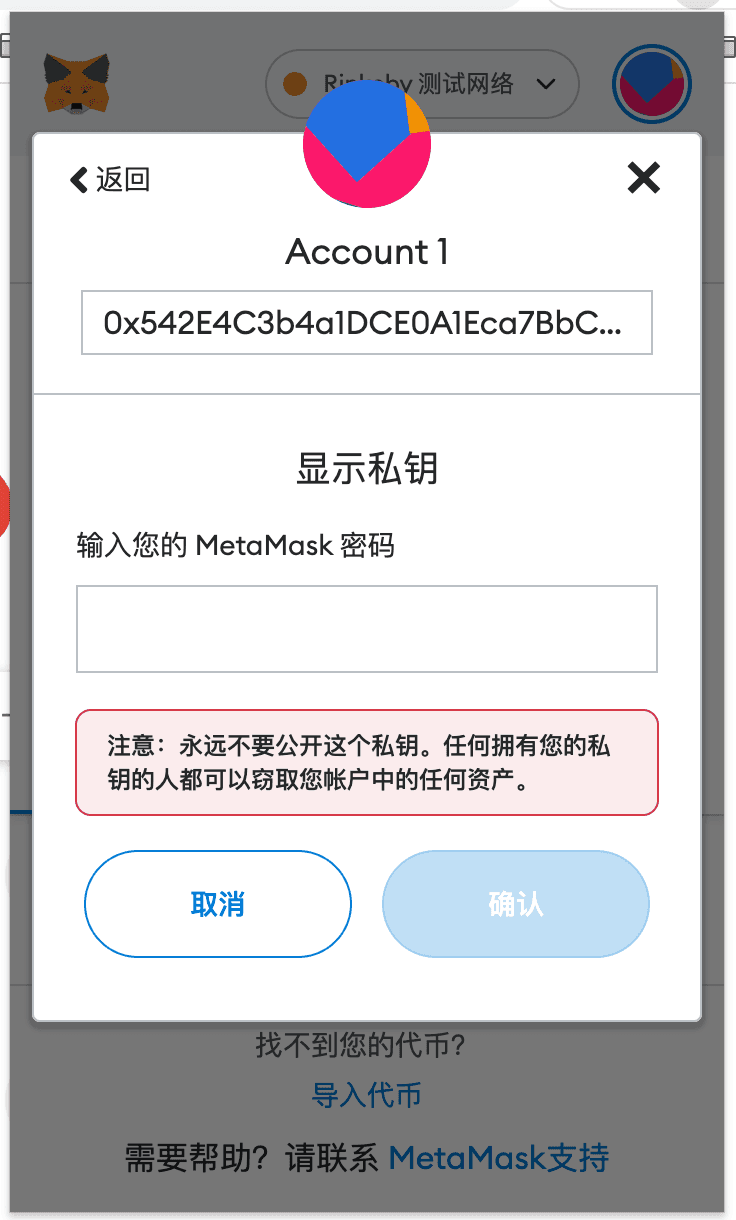
After creating the Rinkeby test network environment, we need to create an account through MetaMask, obtain some test tokens, and record the account's private key for future use.
Obtaining Test Tokens#
After creating an account, we need some test tokens for further development and debugging. We can obtain them through the following websites:
Connecting Test Node and Wallet#
Connecting to the Node#
ethers.js provides a library to easily connect to our test node, where process.env.ALCHEMY_RPC_URL is the HTTP URL we created in the Alchemy platform:
const ethers = require('ethers');

const provider = new ethers.providers.JsonRpcProvider(process.env.ALCHEMY_RPC_URL);
Connecting to the Wallet#
ethers.js also provides a method to connect to our test wallet, where process.env.RINKEBY_PRIVATE_KEY is the private key we copied from MetaMask.
const ethers = require('ethers');

const wallet = new ethers.Wallet(
	process.env.RINKEBY_PRIVATE_KEY,
	provider
);
Solidity Contract Deployment#
Creating the Contract#
We can create a contract using the ethers.js library.
const contractFactory = new ethers.ContractFactory(abi, binary, wallet);
Deploying the Contract#
Next, we will introduce how to deploy a contract using the ethers.js library, where the ABI and BIN files of the SimpleStorage contract have already been read in the previous code.
Creating the Contract#
const contractFactory = new ethers.ContractFactory(abi, binary, wallet);
Deploying the Contract#
const contract = await contractFactory.deploy();
await contract.deployTransaction.wait(1);
Interacting with the Contract#
We can also interact with the contract using ethers.js.
retrieve()#
const currentFavoriteNumber = await contract.retrieve();
store()#
const transactionResponse = await contract.store("7")
const transactionReceipt = await transactionResponse.wait(1);
Constructing Transactions from Raw Data#
In addition to directly calling the contract deployment methods, we can also construct transactions ourselves.
Constructing the Transaction#
const nonce = await wallet.getTransactionCount();
const tx = {
	nonce: nonce,
	gasPrice: 20000000000,
	gasLimit: 1000000,
	to: null,
	value: 0,
	data: "0x" + binary,
	chainId: 1337,
};
Signing the Transaction#
const signedTx = await wallet.signTransaction(tx);
Sending the Transaction#
const sentTxResponse = await wallet.sendTransaction(tx);
await sentTxResponse.wait(1);
Summary#
The above steps outline how we interact with Alchemy's Rinkeby test network using the ethers.js library. In actual production project development, we generally do not use libraries like ethers.js directly but rather use further encapsulated frameworks like Brownie or HardHat. However, understanding how to use libraries like Web3.py or ethers.js is also very important. I will further explain the use of the HardHat framework in future articles.