Introduction#
In the article "What Changed in My Blog in 2024", I introduced the blog system I built using a Serverless platform and some open-source projects, and I started this series of tutorials to document the entire process of building and deploying.
This article is about the solution for the statistics system.
Statistics System Solution#
Compared to the blog itself and the comment system, I actually didn't pay much attention to the statistics system for a long time (mainly because no one was reading it at that time), and I didn't consider SEO or other promotional directions too much. However, I gradually realized that the data collected is not just a nice chart that can be tweeted; it has significant reference value for the topics and content of the blog.
Mainstream mature solutions can meet basic needs, and even free Google Analytics is completely sufficient. However, during the development of the blog, I still went through several iterations for various reasons, ultimately using GoatCounter as my solution.
splitbee#
Initially, I used a free tool called splitbee, which provided a free basic statistics quota, had a decent interface, and supported some complex user tracking, A/B testing, etc. However, I remember it could only retain data for six months, and after exceeding 5000 page views per month, an upgrade was required, so I eventually gave it up.
Cloudflare + Google Search Console#

After giving up splitbee, I didn't integrate any additional statistics applications for a long time and instead used the site statistics provided by Cloudflare. However, I found that it only counted total network traffic, including a lot of invalid data such as bots, and it didn't provide details down to the path level.

Later, after learning about SEO, I added Google Search Console as a statistical dimension. This is currently the most meaningful data for writing my blog posts, mainly showing the keywords users used to reach my blog site through search engines and the page paths they clicked on to enter my blog.
As can be seen, an article titled "Warp, iTerm2, or Alacritty? My Terminal Experiment" brought me many visitors, and topics related to blog building and smart contract development are also the first impressions for most natural users coming from search engines.
Umami + Supabase + Netlify#
However, the above two still only allowed me to see overall website data. To get precise performance data for a specific article over a period or real-time access data after an article is published, I still needed a statistics system. After reading Reorx's article "Deploying Umami to Collect Personal Website Statistics | Reorx’s Forge", I chose to use Umami, an open-source and easy-to-deploy statistics system, which has a clean interface and is easy to integrate into my blog system.
After using it for a year and a half, I hadn't encountered any problems, but perhaps because I started using it early, during a major version update, the database migration script had incompatible field updates. I didn't quite understand why such a large-scale open-source project would have this issue, and I saw many other users in the issue tracker expressing the same concern, but ultimately no good solution was provided.
However, the biggest problem was that a statistics system relied on two platforms, making deployment and maintenance somewhat heavy. When either the database or Netlify encountered issues or needed migration, it incurred many additional costs. So, a while ago, when updating the blog comment system, I thought it would be better to switch to the lighter GoatCounter.
GoatCounter + Zeabur#

I stumbled upon this niche statistics system while looking at Reorx's blog code updates and was immediately attracted by its retro internet style. It has almost no unnecessary buttons, yet its functionality is complete, and it uses a Go single binary file + SQLite database single file architecture, making it lightweight and easy to deploy, so I decided to migrate.
Actually, my own GoatCounter is deployed on fly.io, but I have already provided detailed operational instructions for Fly in my previous article about Remark42, so I don't want to repeat too much. Recently, I have been heavily using Zeabur, a Serverless platform, so this article will take Zeabur as an example, and the method is also applicable to other similar platforms.
I will also provide configuration files for deploying on fly.io and using docker-compose on VPS after the Zeabur deployment plan for reference.
GoatCounter Deployment Instructions#
GoatCounter's code is open-source — "GitHub - arp242/goatcounter", and the documentation is clear and easy to read, allowing for configuration based on actual needs. The GoatCounter + Zeabur solution only involves a single service, and the database uses SQLite mounted in a volume, making deployment very simple.
Deploying with Zeabur#
Zeabur requires a Developer Plan for deploying container applications, which costs $5/month. However, for services like this, the overall usage and cost are relatively low, and the monthly quota is sufficient to deploy many services, so you can choose according to your needs. The overall deployment process is much simpler than fly.io, and all operations can be completed using the web interface without the need to install additional command-line tools.
Registering on Zeabur#

Visit the Zeabur official website and click the top right corner to log in using your GitHub account.
Creating a New Project#

After entering the main interface, click the Create Project button in the top right corner.

I chose the AWS data center in Hong Kong. Different data centers have some differences in access speed, performance, and price, so you can choose according to your needs.
Configuring Image Deployment#

In the next step, select Docker container image for deployment.

Since we are using a self-built image and there is no official GoatCounter template, we click to select custom.

In this step, you can fill in various configuration items on the interface, but since I am used to the file configuration mode of fly.io, I chose to click Edit TOML File in the lower left corner. You can also directly copy my configuration file and modify it.
name = "yu-goatcounter"

[source]
image = "pseudoyu/goatcounter"

[[ports]]
id = "web"
port = 8080
type = "HTTP"

[[volumes]]
id = "goatcounter-data"
dir = "/data"

[env]
PORT = { default = "8080" , expose = true }
GOATCOUNTER_DB = { default = "sqlite3://data/goatcounter.sqlite3" , expose = true }

After configuring, click the deploy button in the lower right corner.
Deployment Completion#

After clicking deploy, wait a moment, and a generated project default name will appear. You can change it to a more readable name, such as yu-goatcounter, in the settings in the upper left corner.
Configuring Custom Domain Name#

After the service deployment is complete, we need to bind a domain name to access the website publicly. Zeabur provides a free secondary domain xx.zeabur.app, and you can also bind your own domain.

The generated domain can be used directly without additional configuration, such as goatcounter.zeabur.app; if you are using a custom domain, you need to add a CNAME record in your domain management backend, pointing to the data center address in the format of xxx.cname.zeabur-dns.com.

For example, my domain is hosted on Cloudflare, and the added CNAME record is shown in the above image. I asked the official support, and they said that if you choose the AWS HK data center, you can avoid using Cloudflare's proxy, which theoretically would be faster, so you can configure it according to your needs.
Additionally, if you choose the Huawei Cloud data center, you need to file for domain record and add an extra TXT record, which you can do according to the prompts.

If it shows green, the configuration is successful, and our GoatCounter service is now deployed.
Data Backup#
In our configuration, we have this segment:
[[volumes]]
id = "goatcounter-data"
dir = "/data"
This function mounts the /data directory inside the container (where our SQLite database is located) to a storage volume with the ID goatcounter-data. If the storage volume is not mounted, data will be lost when the container restarts or is redeployed.
Regarding storage volumes, Zeabur's interface does not provide very intuitive display and management operations, which makes me always doubt whether my configuration is effective.

After researching for a while, I found that I could first pause the service in the settings, then add a backup in the backup module above. After clicking download, I can see our backup file locally, with the directory structure as follows:
data/
└── goatcounter-data
    └── goatcounter.sqlite3
This indicates that our data has been successfully persisted. I hope Zeabur can provide a more intuitive display in the interface.
Deploying with fly.io#
The completely free solution can still refer to the article I mentioned, "Building Your Free Blog Comment System from Scratch (Remark42 + fly.io)", with only the fly.toml configuration part being different. I also provide the configuration file I used — "fly.toml" for reference.
Deploying with Docker and docker-compose#
Interestingly, because the author of GoatCounter is very insistent that containerizing such a single-file application would actually increase maintenance costs, they do not provide an official image. However, having an image for deployment on VPS or serverless platforms is still convenient, so I used GitHub Actions to create a CI for building the image and uploading it to Docker Hub. Those in need can use it, and the corresponding Dockerfile and Docker Compose file can also refer to this Commit, or directly use pseudoyu/goatcounter and the docker-compose.yml file.
version: '3'

services:
  goatcounter:
    image: pseudoyu/goatcounter
    ports:
      - 8080:8080
    environment:
      - PORT=8080
      - GOATCOUNTER_DB=sqlite3://data/goatcounter.sqlite3
    volumes:
      - ./data:/data
    restart: unless-stopped
GoatCounter Configuration Instructions#
Having completed the deployment of the GoatCounter service, we can now access our statistics system service through our generated/custom domain, such as accessing it via https://goatcounter.pseudoyu.com.

The first time you log in, you need to create a user by filling in your email and password and clicking Create.

After successfully logging in, there will be no data yet, and a script will be prompted, which will be used in our blog configuration later.
Blog Configuration for GoatCounter#
Following the previous steps, we have completed the deployment and basic configuration of GoatCounter. Now we need to add the statistics component to our blog. Taking my Hugo blog as an example:
<script data-goatcounter="https://goatcounter.pseudoyu.com/count"
        async src="//goatcounter.pseudoyu.com/count.js"></script>

Add the above code to the head of my Hugo theme, such as in the file layouts/partials/head.html. The location may vary slightly depending on the theme or SSG framework, but it is generally similar.
One thing to note is that GoatCounter will ignore requests from localhost to avoid generating too much dirty data during local previews, so you won't see data during local debugging; you need to deploy the webpage to see the access data.

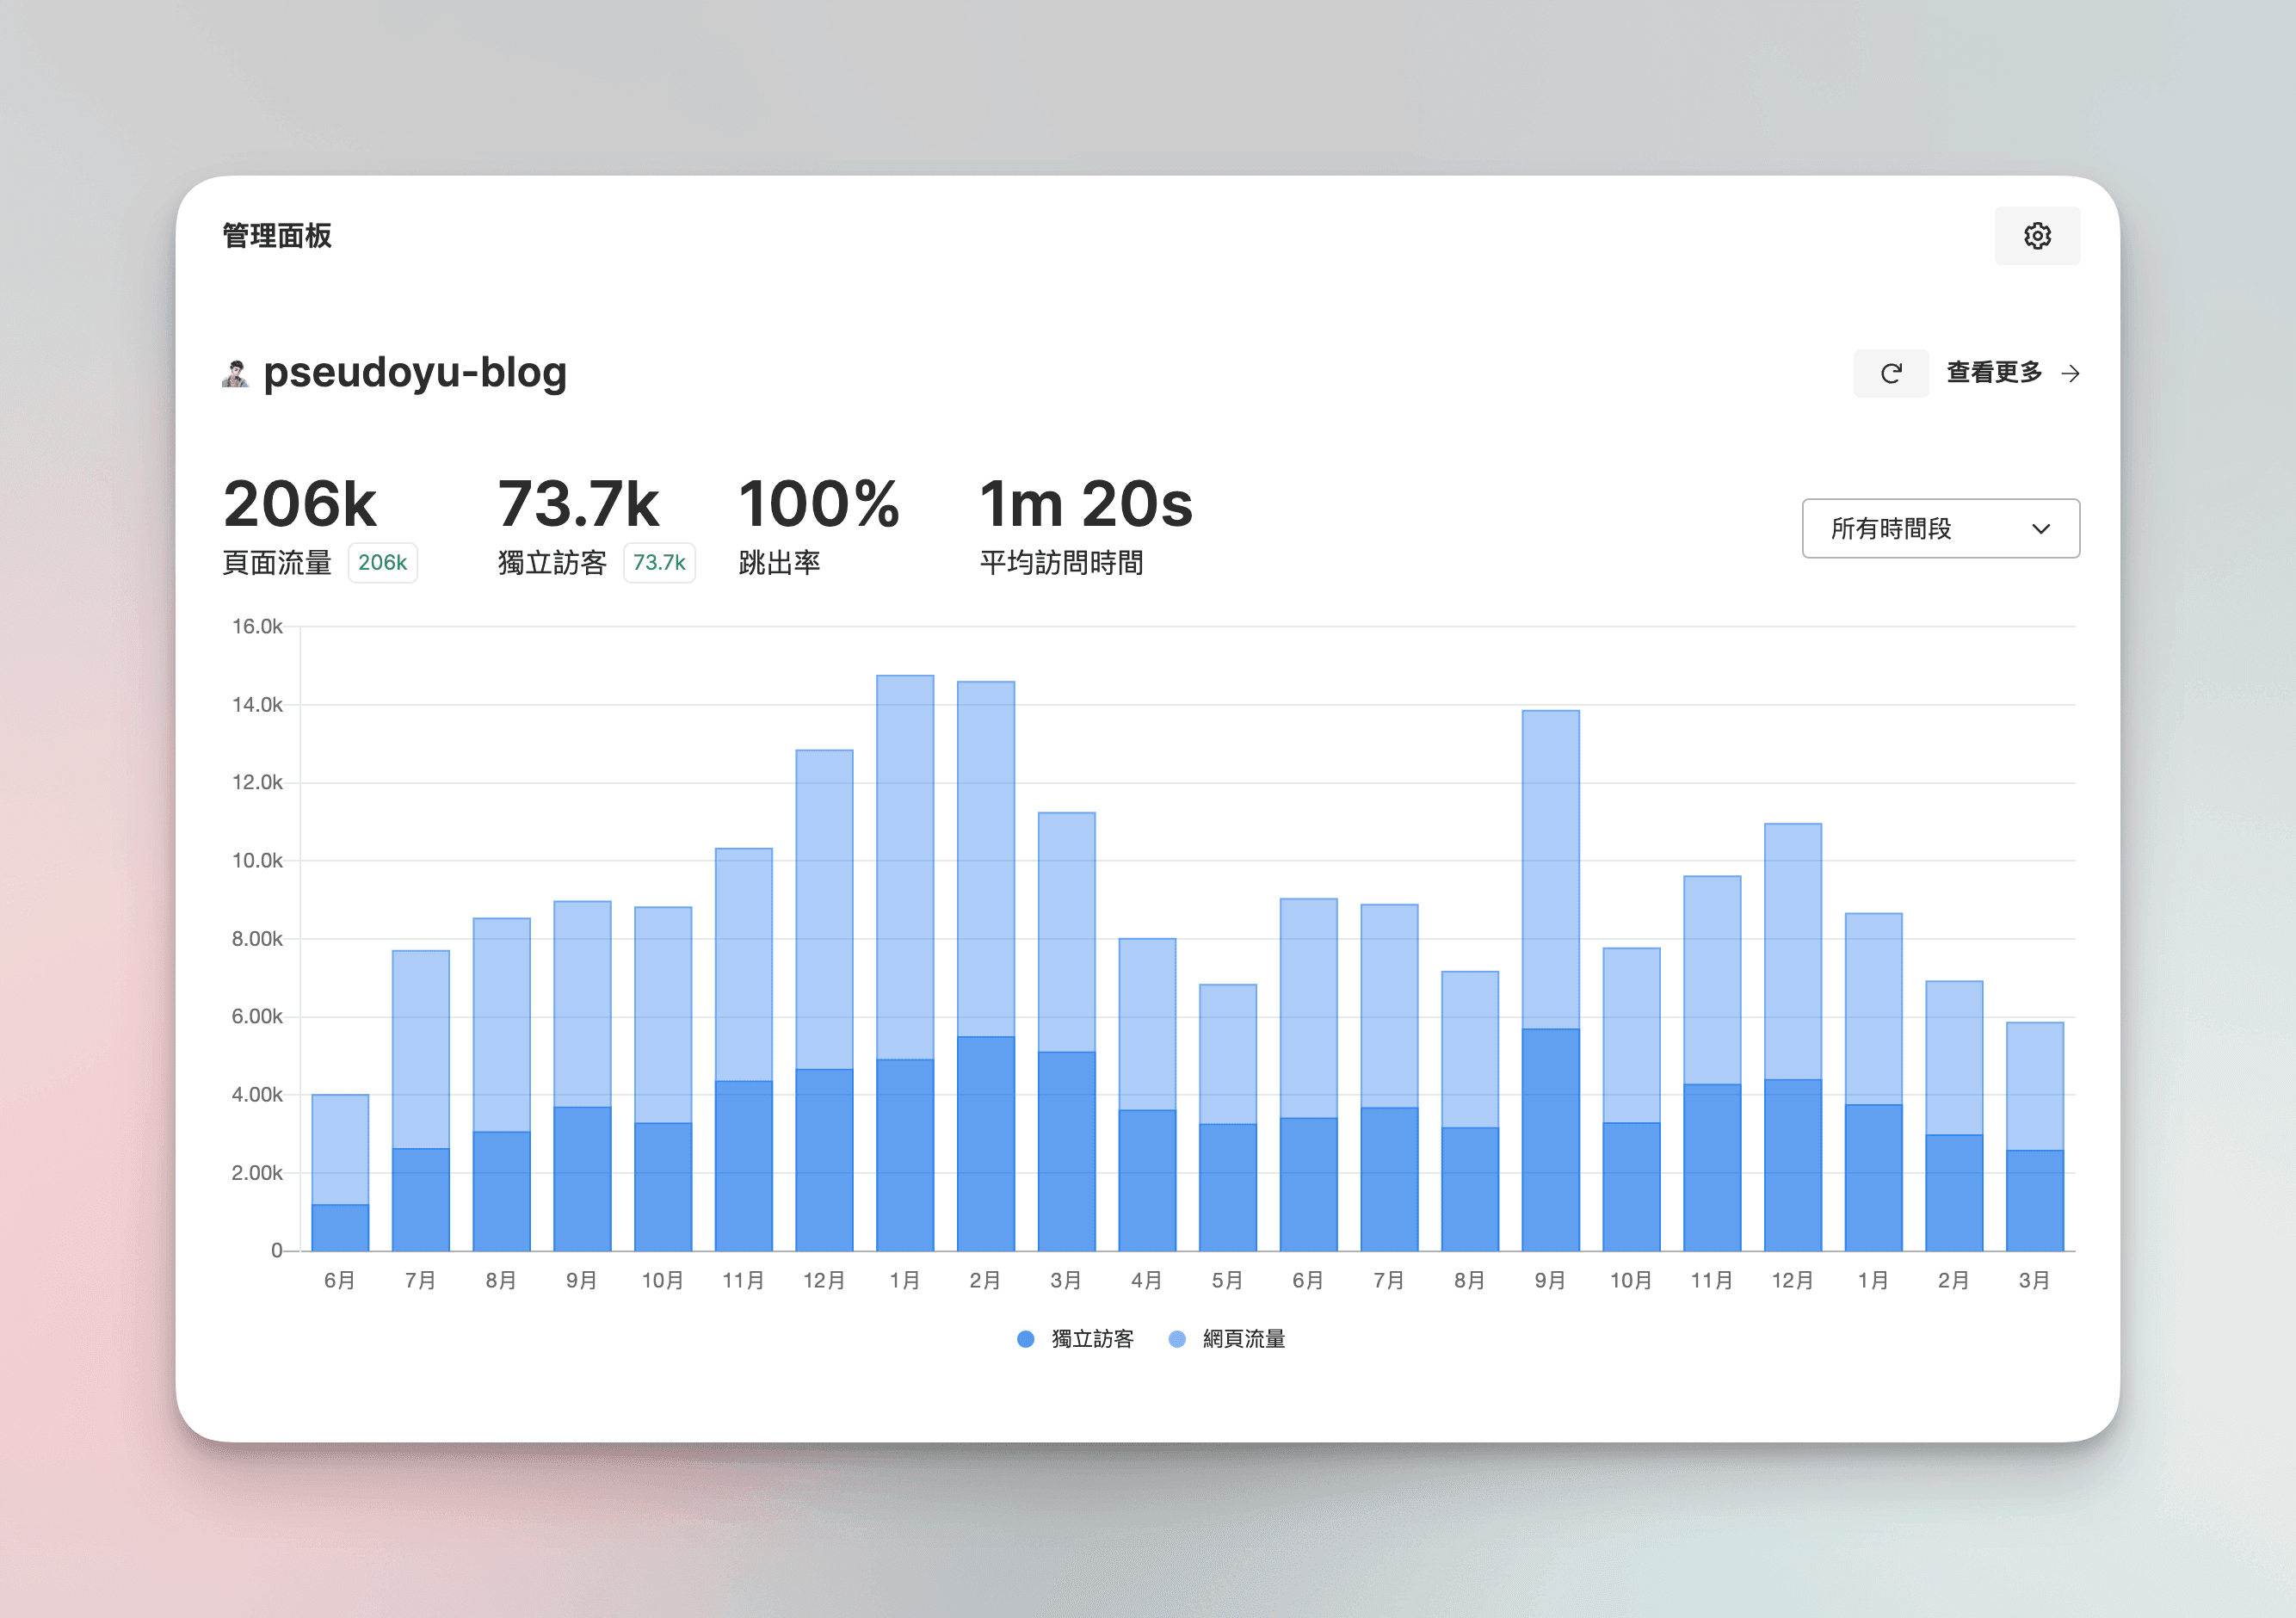
The effect after collecting data is roughly as shown in the above image. You can also set some configuration items, add webpages, view detailed data, etc., in the GoatCounter interface, including displaying the access count for each page, which you can explore according to the documentation.
Conclusion#
Thus, our blog statistics system has been successfully set up! This article is one of my series of tutorials on building and deploying blogs. The main part of the blog theme has been completed, and only some details like blog search and experience optimization remain. I hope this can serve as a reference for everyone.